1. Launching the Application
After installation, open the application and make sure it is ready for use.

2. Settings
Before you begin, we recommend configuring the application.
To do this, open Settings, where the following options are available:
- Store elements — controls how long the copy history is retained
- Hotkey — configuring this option allows you to display a list of all previously copied items for selection and insertion
- Pressing the Ctrl+B key combination will open a window with a list of all previously copied elements. To insert an element, simply click on the desired one
- Quick insert — enables quick insertion of the last 10 copied items according to the selected filter in the main menu.
Use CTRL + [Number] - Start with Windows — this feature allows the application to launch immediately after the system starts
- Show Clipboard at startup — displays the application window immediately after the application launches. If disabled, the application window will be minimized to the system tray after startup.


- Lock application via Windows Hello — when enabled, this feature locks the selected values. To unlock them, you must enter your system password. This feature works only when Windows Hello is enabled in Windows settings
- Synchronization – synchronizes clipboard history across multiple devices using the same account (after enabling, sign in with your Microsoft account).

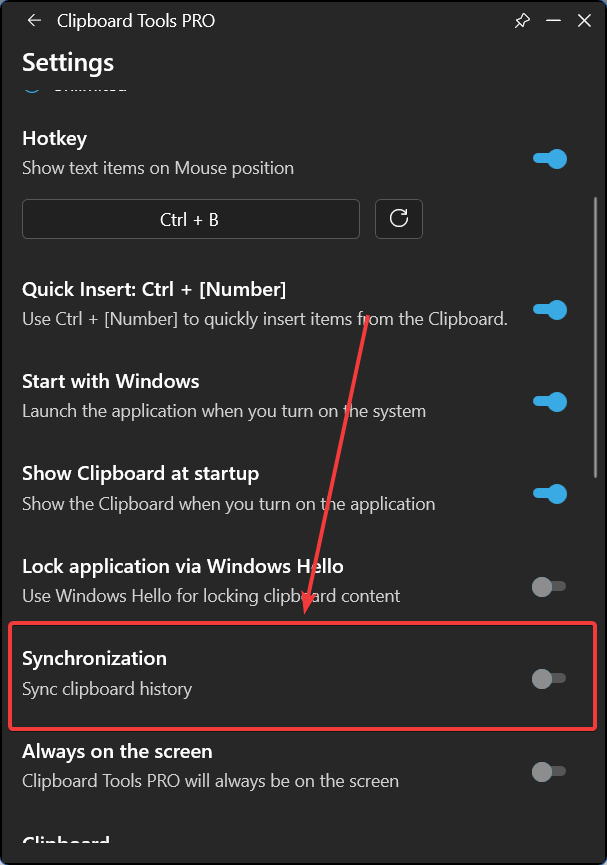
- Always on Screen — keeps the application window on top of all other windows.
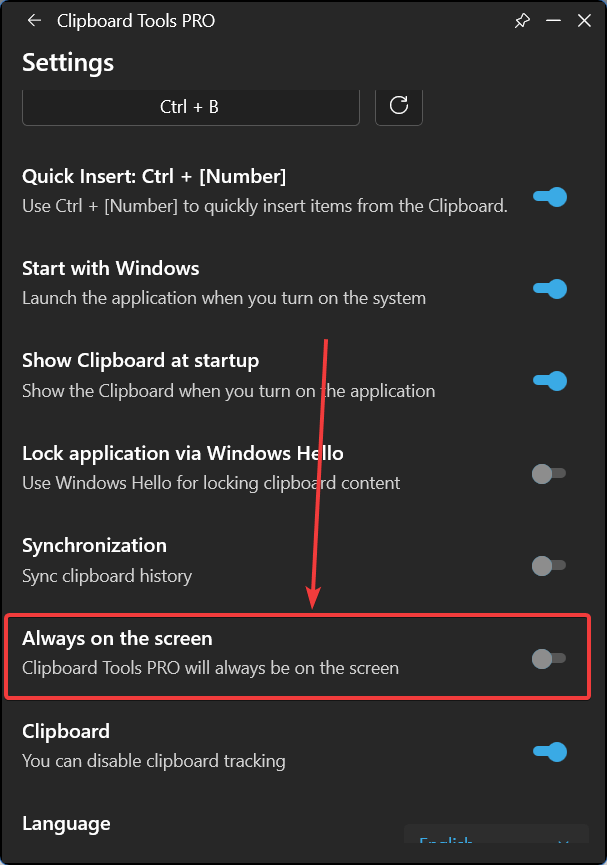
- Clipboard – tracks and saves your clipboard history. It is enabled by default. If disabled, clipboard history will not be saved in the app.
For returning to the main menu of the application, click the Back button.


3. The following functions are available in the main menu:
- Select and copy the required item from previously copied entries. Text, links, images, and other files are supported. To do this, LMB click on the selected item and paste using CTRL + V or hotkeys (Ctrl+B or Ctrl+[Num 1-0])
- Please note that when the “Lock application via Windows Hello” feature is enabled, you can hide any copied item from the app’s main menu. To do this, click “Lock” on the item.


- To display the contents of a locked item again, left-click on it and enter your Windows Hello PIN.
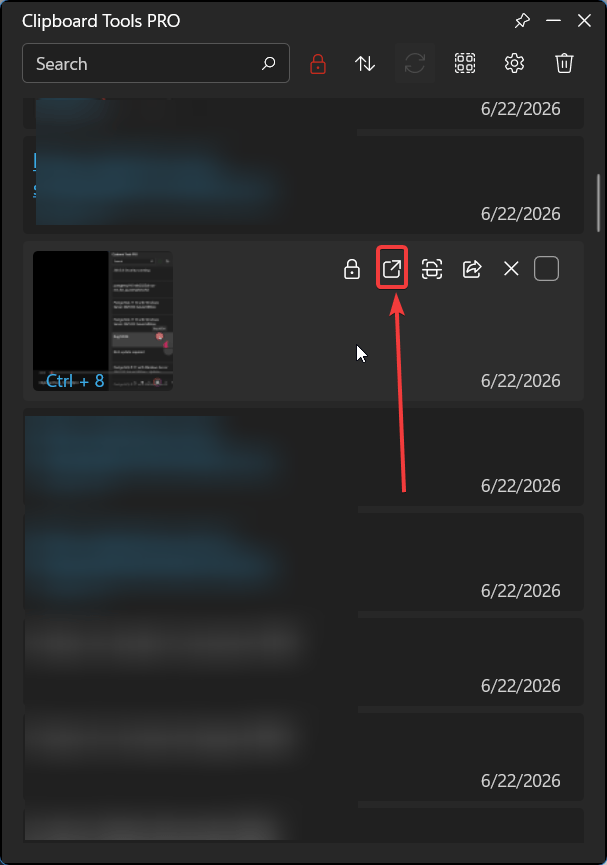
- The app allows you to open files using the default Windows applications. To do this, click the “Open” button, which is available for each item (except text).


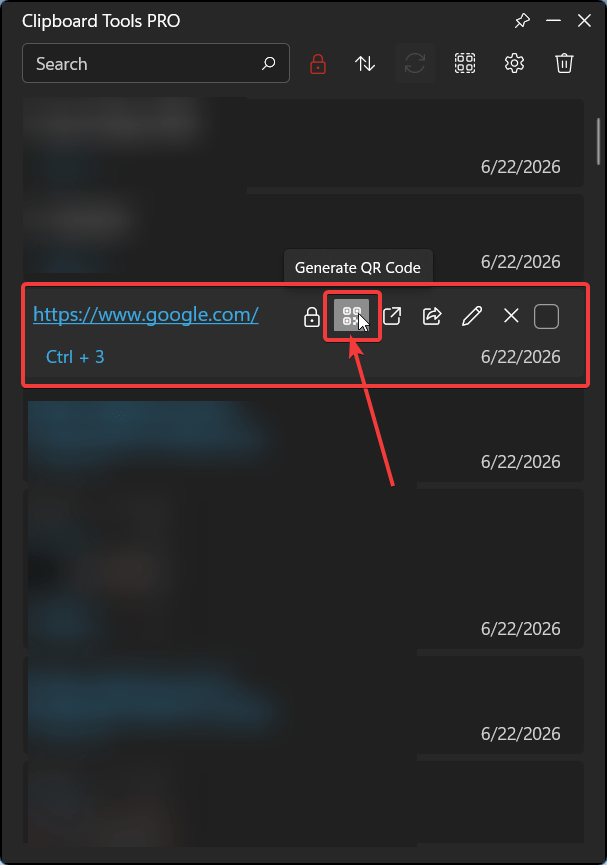
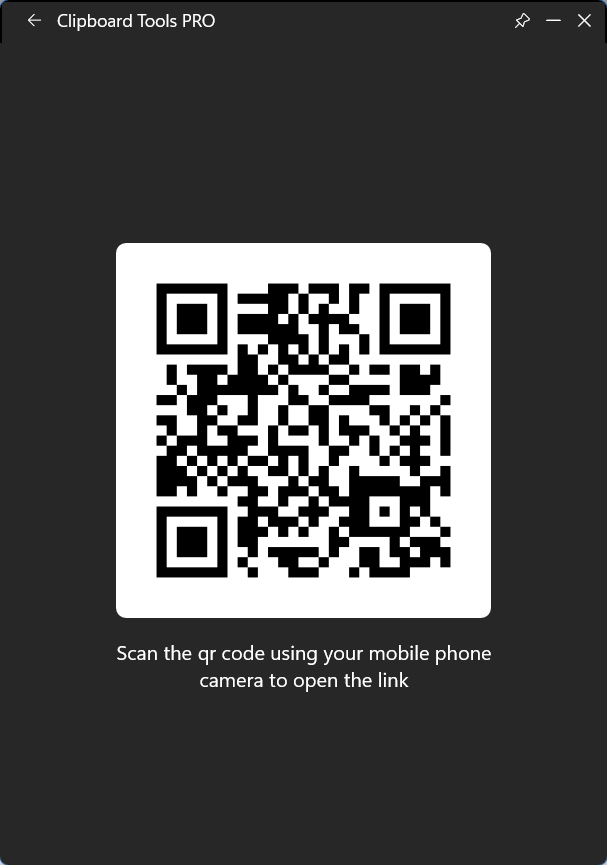
- The app can generate QR codes for links, which can be scanned using a smartphone (Android, iOS) to open the link. To do this, click the “Generate QR Code” button on the link.
- The app allows you to extract text from a copied image. To do this, select the copied image and tap the “Extract Text” button
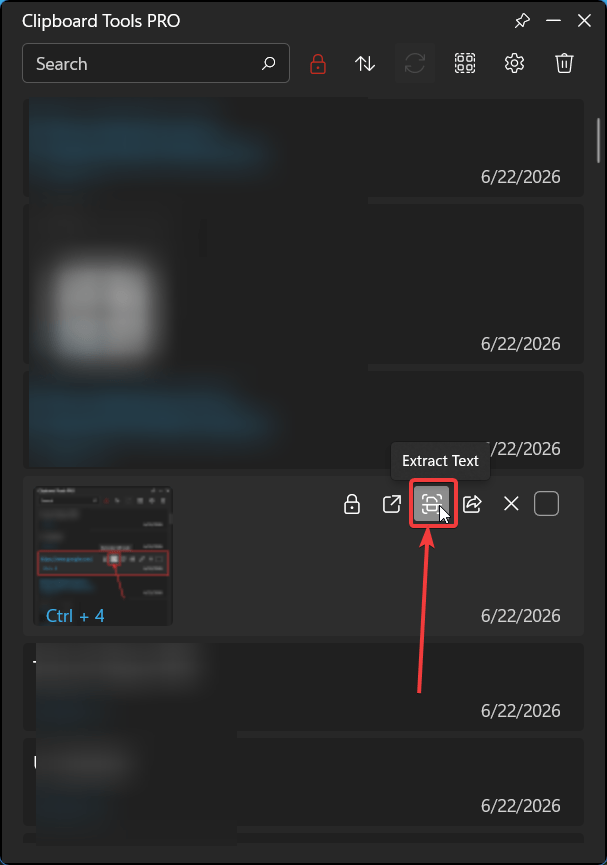
In the window that appears, select the recognition language (1) and click the Extract Text button (2). Once the text has been extracted, it will appear at the top of the application list.

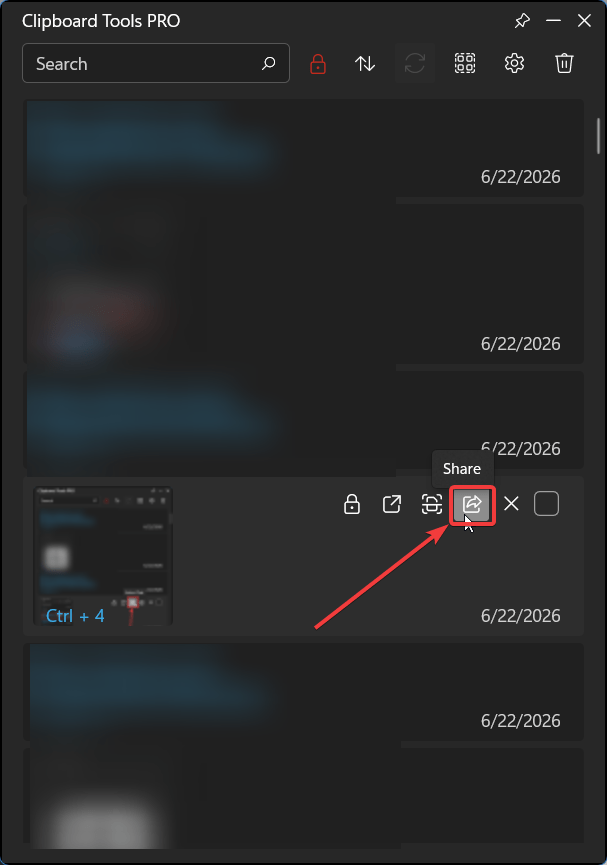
- Any copied item can be shared by clicking the Share button
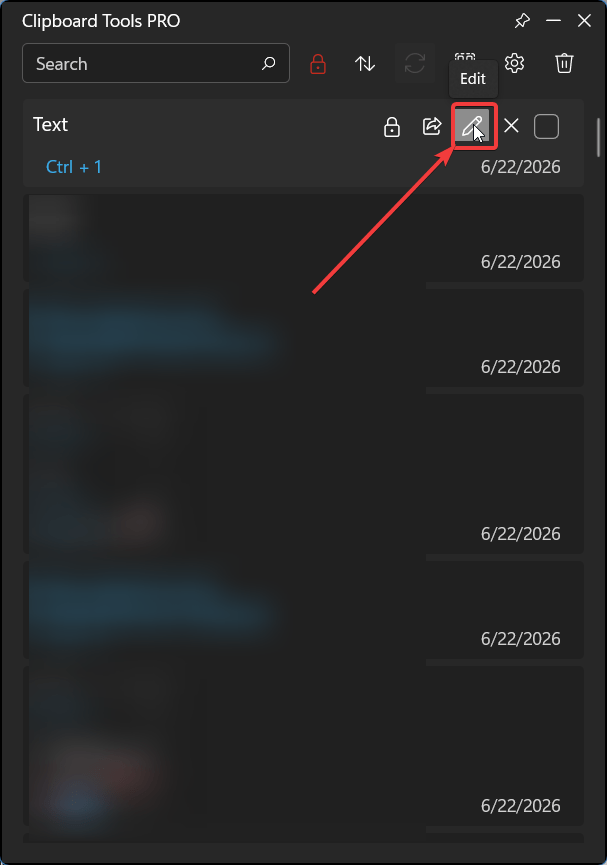
- Copied or extracted text, as well as links, can be edited by clicking the Edit button
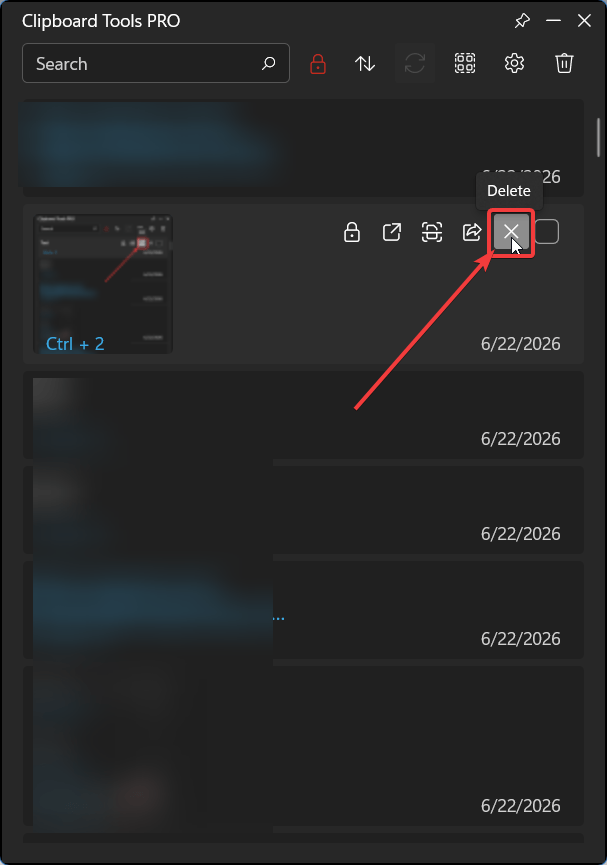
- You can delete copied items by clicking the Delete button on the item you want to remove
- To find the item you need, enter a search query in the Search field

- There are also 4 sorting options available. “New to Old” is set by default
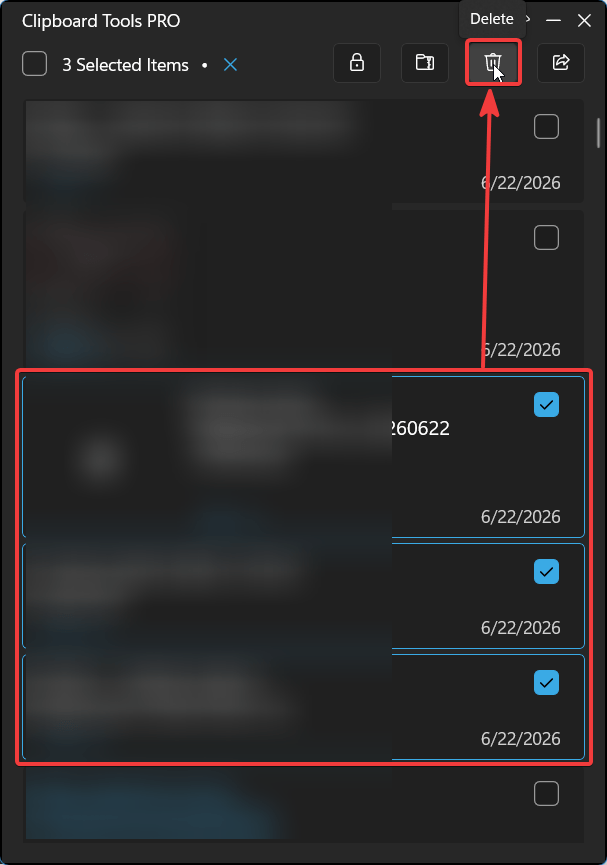
- The Select allows you to choose all items or selected items for the following actions:
Share, Lock, Archive, Delete

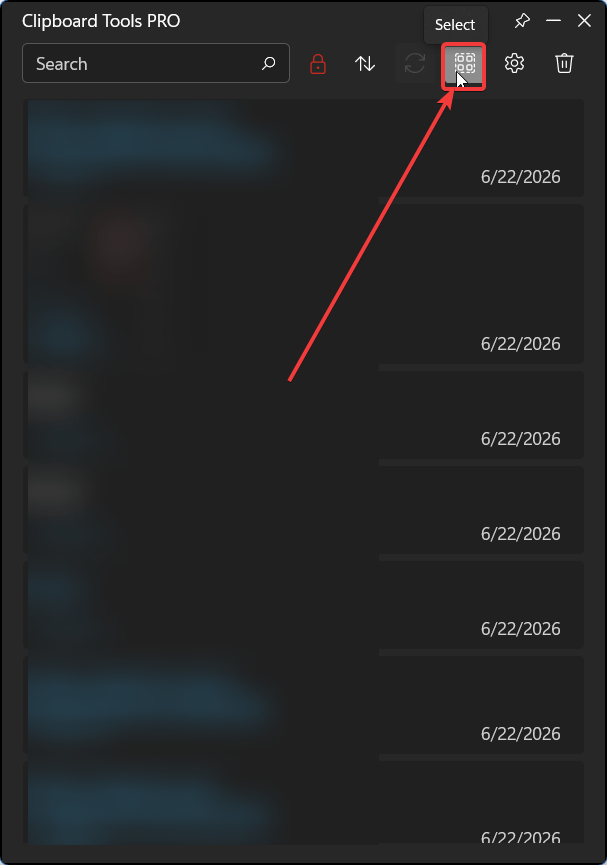
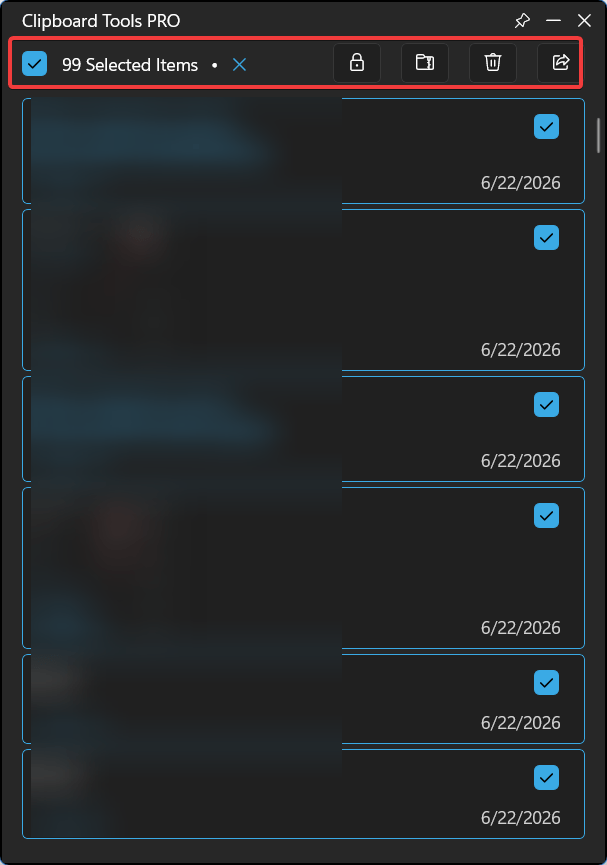
- After switching to Select mode, check the boxes for the selected items in the list.
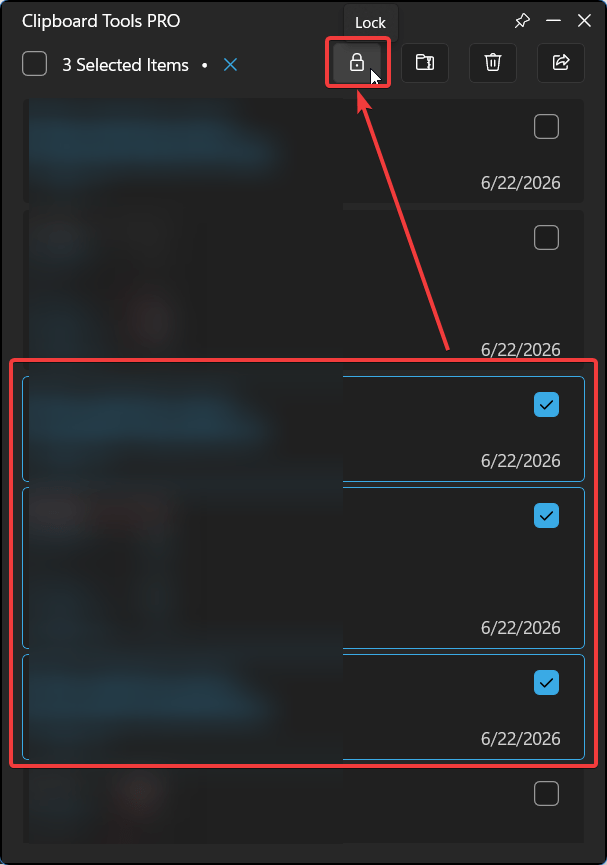
- For selected items, “Lock” locks the selected items until the Windows user password is entered

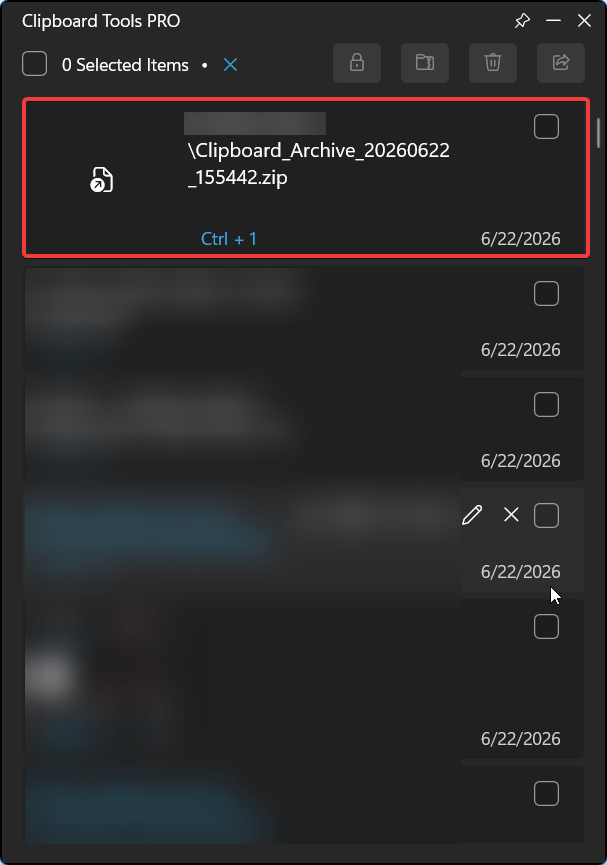
- Archive — creates an archive containing the selected items on the local computer

It also adds the archive to the list of items.
- Delete – removes the selected items from the list.
- Share — sends text, images, and files via the selected email client or messenger

4. Technical Support
If you experience technical difficulties that cannot be resolved using this guide, please contact the application support team.
When submitting a support request, include:
- A detailed description of the issue
- Steps to reproduce the problem
- Screenshots (if applicable)
Providing complete information will help accelerate issue investigation and resolution.
