

Webmin on Ubuntu 24.04 LTS Minimal combines a streamlined Ubuntu Long-Term Support environment with a browser-based interface for Linux server administration. It helps administrators manage users, configure system settings, administer supported services, and review system information through a centralized management interface. With a focused set of installed software components, this virtual machine is suitable for cloud deployments that require convenient server administration and a streamlined operating system environment.

Effortless installation. Ready-to-run with easy maintenance. Explore now for a smooth experience!
Configuration and connection to Webmin on Ubuntu 24.04 Minimal
To start the server, start the virtual machine through Azure.
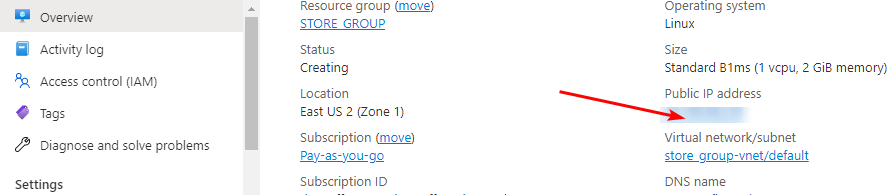
After starting the VM, you should know its IP address. You can find it in the personal account of Azure. (You need to select the virtual machine from the list. By clicking the item “Overview”, your IP is displayed in the line “Public IP Address”).
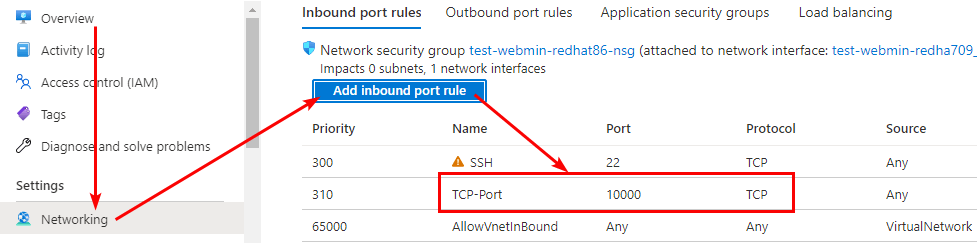
For the VM to work, you need to open ports 22 and 10000 (TCP), in the network properties in Azure Firewall:
Creating Credentials
- You need the PuTTY application to connect via ssh to connect to a VM. You can download it at the following link – Download
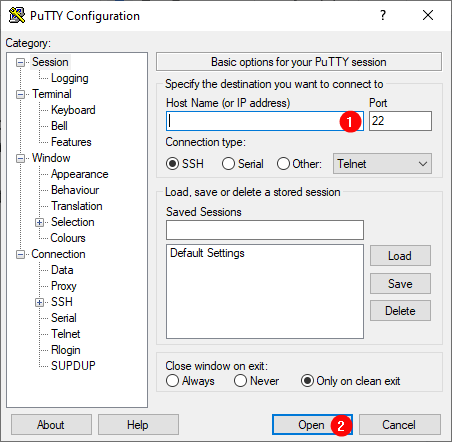
- Run PuTTY, enter the VM address in the “Host” field (1), and click “Open” (2) to connect.
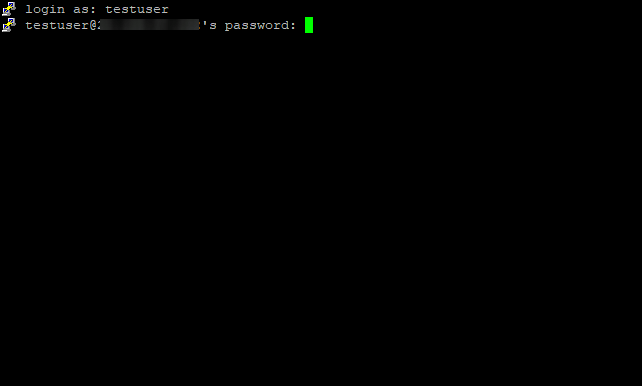
- In the opened console, you should enter the username and password that were specified when creating the virtual machine.
- The next text is displayed:
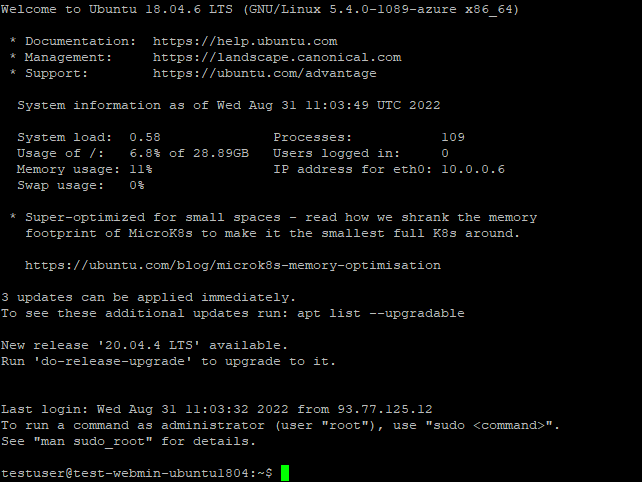
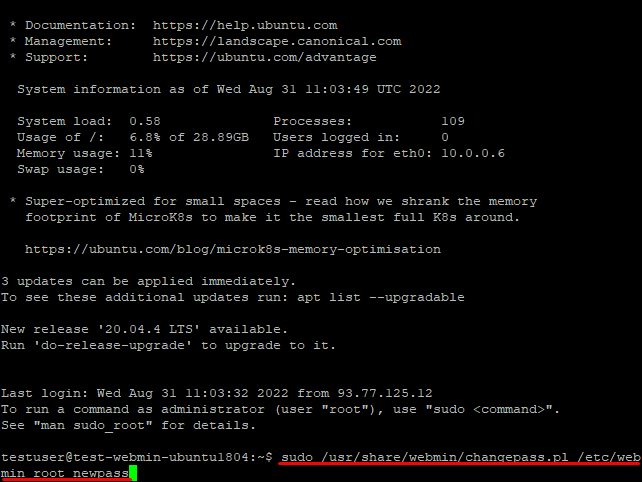
- Enter the next command in the console:
$ sudo /usr/share/webmin/changepass.pl /etc/webmin root NewPassWord, where NewPassWord is your new password.
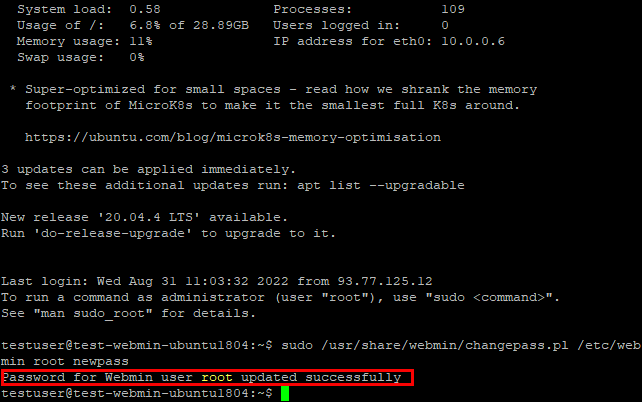
- The following message is displayed when a password has been set for the “root” user
Connecting to Webmin
- In your browser, enter https://ip:10000. For example https://11.22.123.123:10000
- When you go to the address, you will need to accept a self-signed certificate, for this, click the “Advanced” button and then “Proceed to “vm_ip”
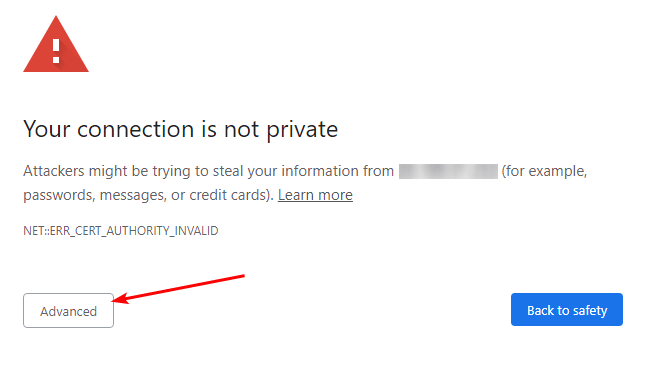
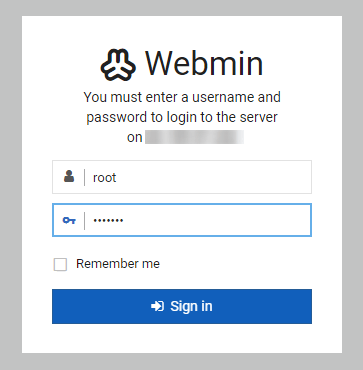
- The authorization page will open.
Enter username “root” and NewPassWord in the fields.
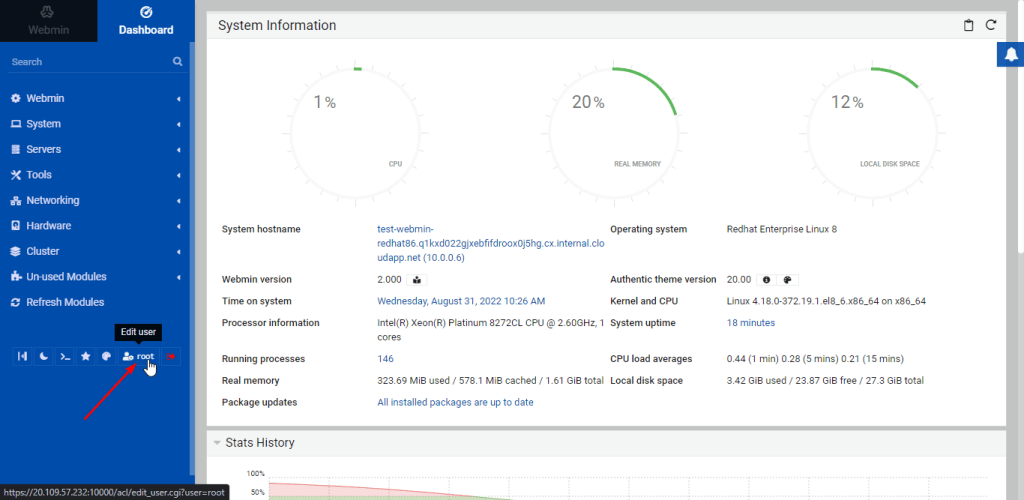
- To change the username and password, you need to click the “root” button.
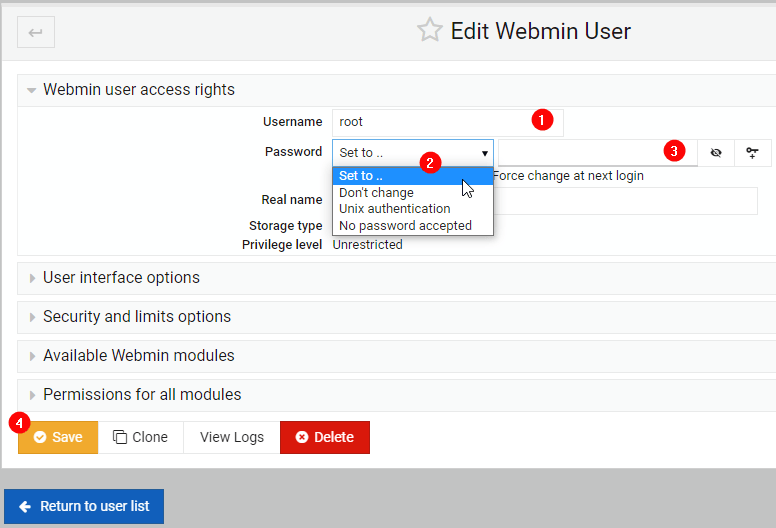
- For a change, follow the steps:
1) in the “Username” field – enter your nickname;
2) In the “Password” field, choose “Set to”;
3) Enter a new password;
4) Click the “Save” button.
More documentation about Webmin here – Webmin Documentation
Visit Webmin Forum to get answer your question

