VPN Server on Ubuntu 26.04 LTS delivers a modern and reliable virtual private networking environment powered by Ubuntu Long-Term Support. This preconfigured virtual machine is designed for organizations, administrators, and remote teams that require secure encrypted connections, protected remote access, and dependable VPN infrastructure across cloud and hybrid deployments.

Effortless installation. Ready-to-run with easy maintenance. Explore now for a smooth experience!
Connection to the VPN Server on Ubuntu 26.04 LTS
- First, to connect to the VPN Server, you should open port 1194 UDP in the network properties on Azure Firewall.
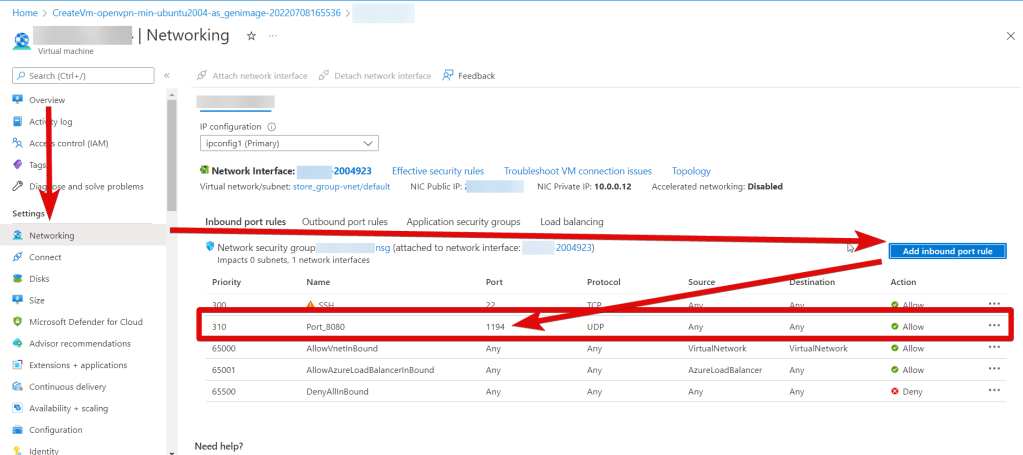
- To manage OpenVPN, you should connect to a VM.
- With OpenSSH
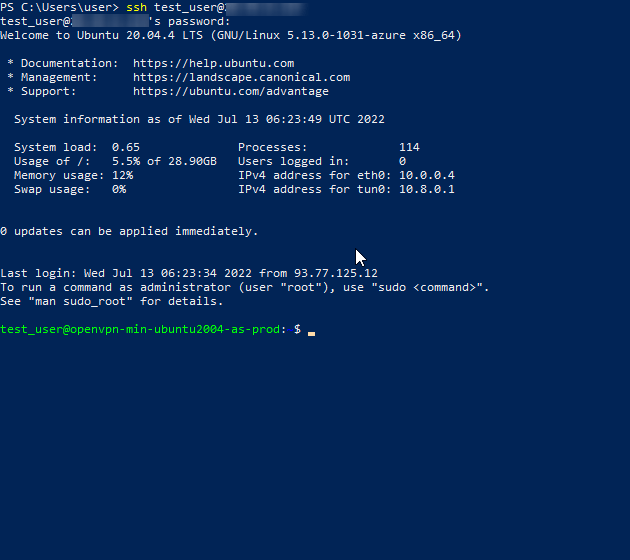
In the Windows 10 operating system (starting with version 1809), an OpenSSH client is available, with which you can connect to Linux servers via SSH. If Windows 10 is suitable and the OpenSSH client is installed, you can start connecting via SSH. To do this, launch a normal Windows command prompt and enter the command “ssh user@*vm_ip*”.
Where “user” is the username that was specified while creating the virtual machine and “*vm_ip*” is the VM IP address.
In the opened console, it is necessary to enter the password that was specified while creating the virtual machine.
- With the PuTTY application
To do this, you need the PuTTY application to connect via SSH. You can download it at the following link – Download.
Run PuTTY, enter the VM address in the “Host” field, and click “Open” to connect.
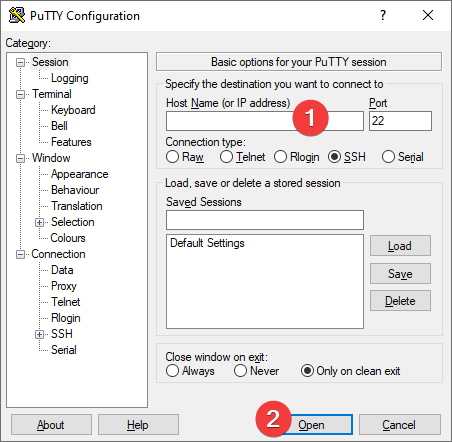
In the opened console, you will need to enter the username and password that were specified while the VM was being created (you’ll not see the password in the console while entering it).
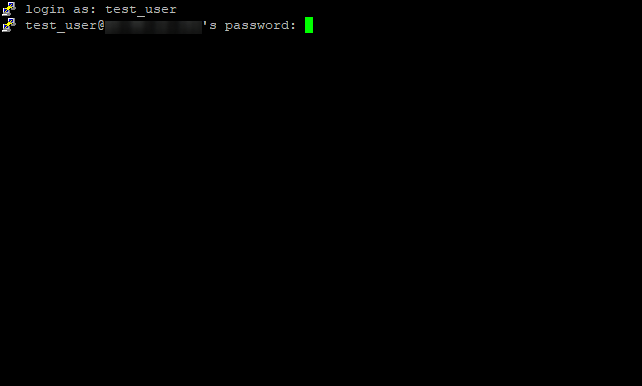
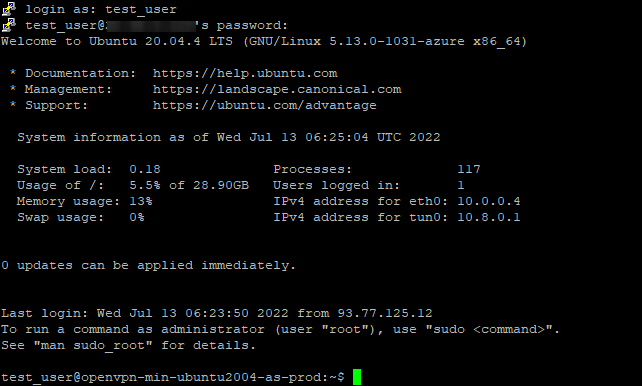
- Next, you should enter the following commands:
> sudo vpnusers
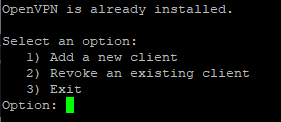
- To create a new user, type “1” and press Enter.

- Write a username and press Enter.
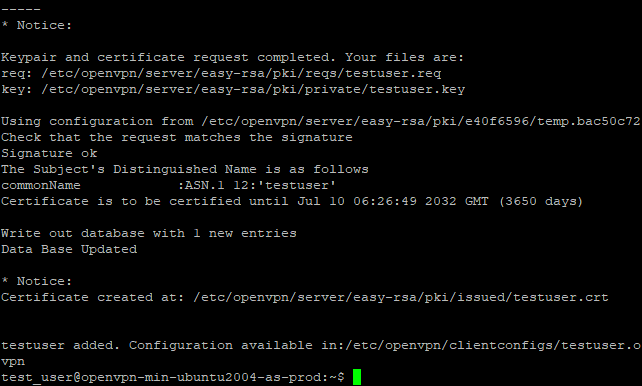
- The last line will tell you where the config file is available (exampleuser.ovpn in this case)
- You need to copy the contents of this file. To do this, display the contents of the file on the screen with the following command:
> cat /etc/openvpn/clientconfigs/”exampleuser”.ovpn
Don’t forget to replace “exampleuser” with the username that was created in step 5
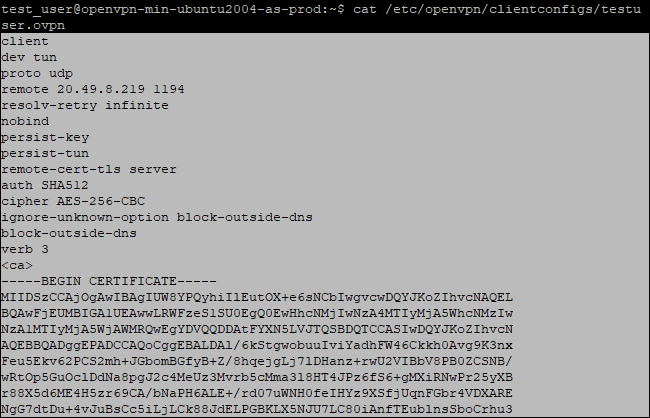
- Copy the entire contents of the file by selecting it and pressing Ctrl + C.
- Open Notepad or any other text editor and paste the contents of the file into a blank document
- Save the file with the extension .ovpn

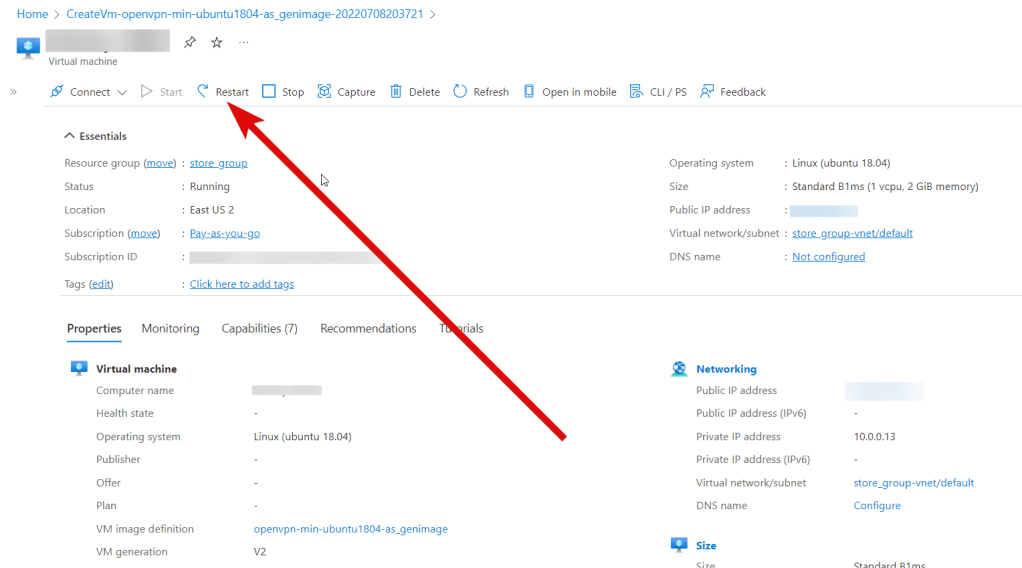
- Then restart the VM
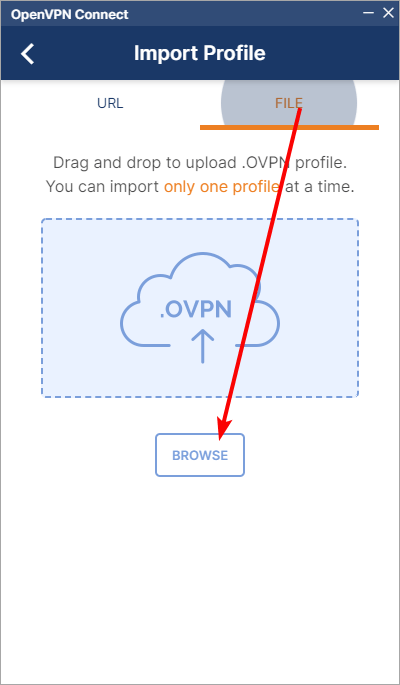
- Run OpenVPN Connect. If you don’t have OpenVPN installed, you can download it here.
- In the open window, specify the path to the file that you unpacked from the archive and click “OK”.
- Click Connect
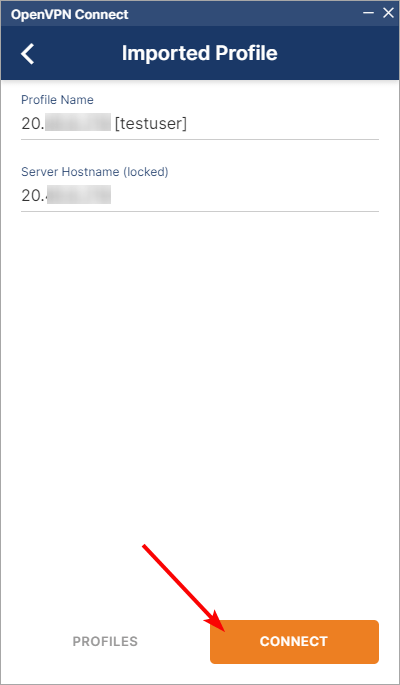
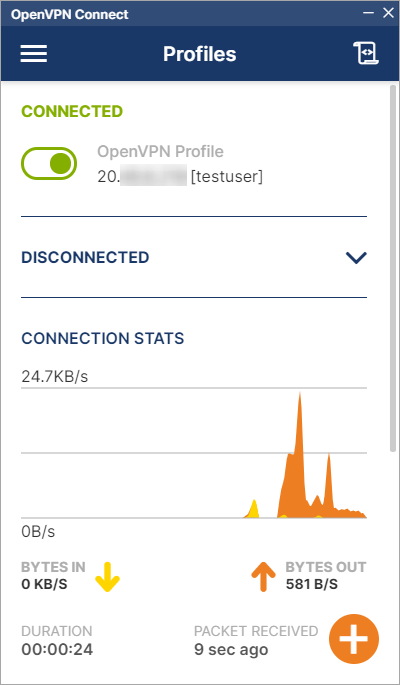
- If the connection is successful, the following window is displayed: