SFTP – OpenSSH FTP Server on Rocky 9 provides a stable and secure platform for SFTP services. It is optimized for efficient file management and cloud deployments.

Built for efficiency, optimized for your needs — get started instantly.
Configuration and Connection to the SFTP – OpenSSH FTP Server on Rocky 9
Connecting and Managing the Server
To get started, you should open port 22 (TCP) in the network properties of the Amazon firewall. After purchasing and starting the VM, you need to know its IP address, which can be found in your Amazon account.

To connect to the Server, you should generate a “Private Key” in advance. This can be done using the following instructions (choose the “file format:” option “.ppk” in step 3) Guidance on usage: Key Pair Setup for Seamless VM Access
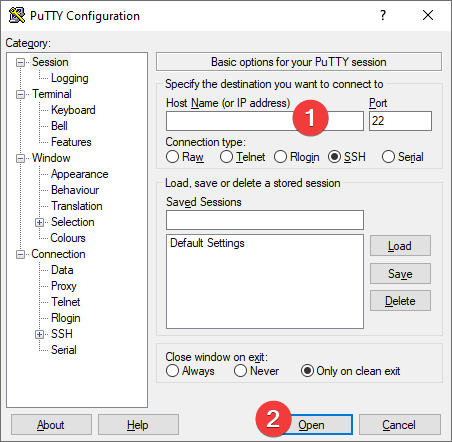
- Connecting to the VM using the PuTTY application. You can download it at the following link – Download
- Go to the section SSH on the left panel, and then to Auth
- In the “Auth” section, click “Browse” and specify the path to the .ppk file you received earlier.
- Return to the “Session” home page, enter the VM’s IP address (1), and click “Open” (2).
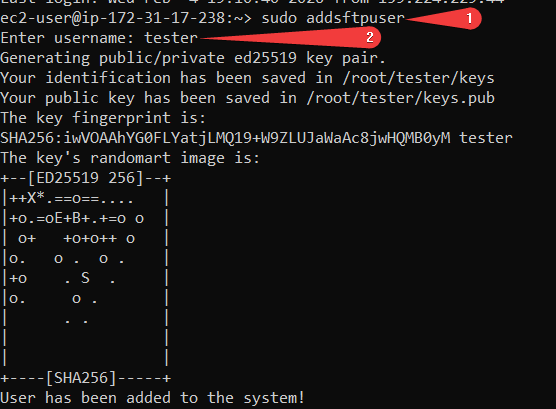
- In the opened console, you will need to enter the login rocky.
- Run script sudo addsftpuser (1) and enter a username (2)
- Open the file with the generated key:
sudo cat /root/”username”/keys
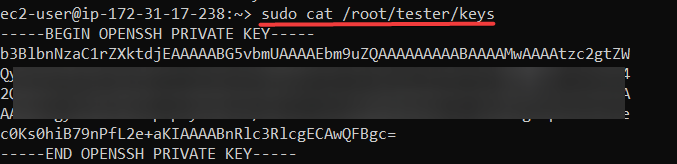
- Copy the key to the text file on your device and save the file as keys.pem

Connecting to SFTP using FileZilla Client
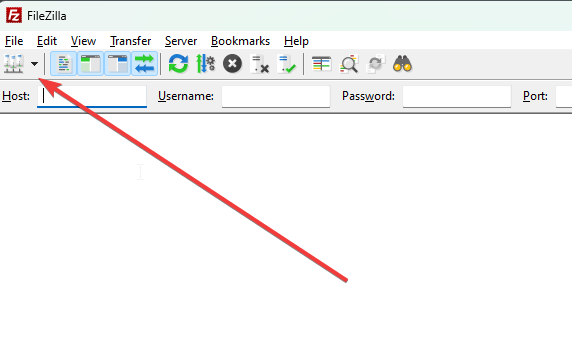
- To connect to the SFTP Server, it is recommended to use the “FileZilla Client” application (you can download it from the following link: Download FileZilla Client for Windows (64bit x86)).
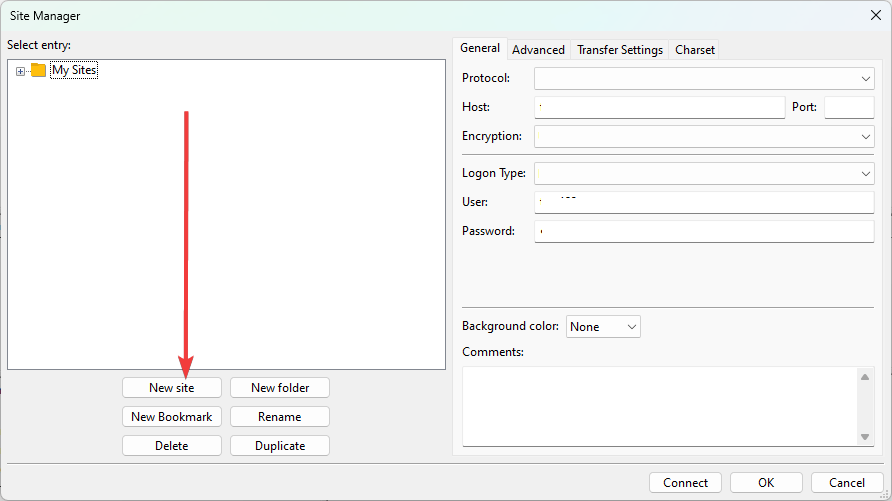
- Run FileZilla Client and open Site Manager
- Create a new site
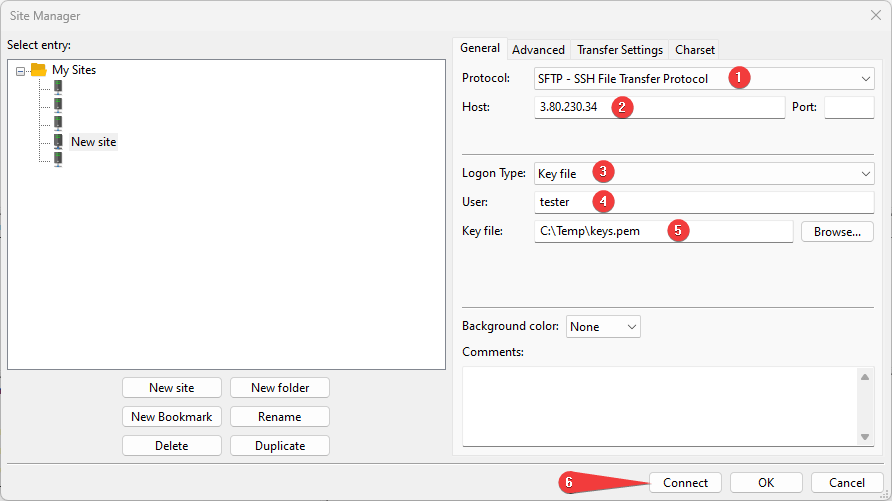
- Enter the required data and fill in the required fields
- select SFTP – SSH File Transfer Protocol (1)
- Enter your VM IP address (2)
- select Key file (3)
- Enter the name of the created user (4)
- Enter the path to the saved keys.pem file (5)
- Click Connect (6)
- Once you enter all the data and click Connect, you will successfully connect to the server.
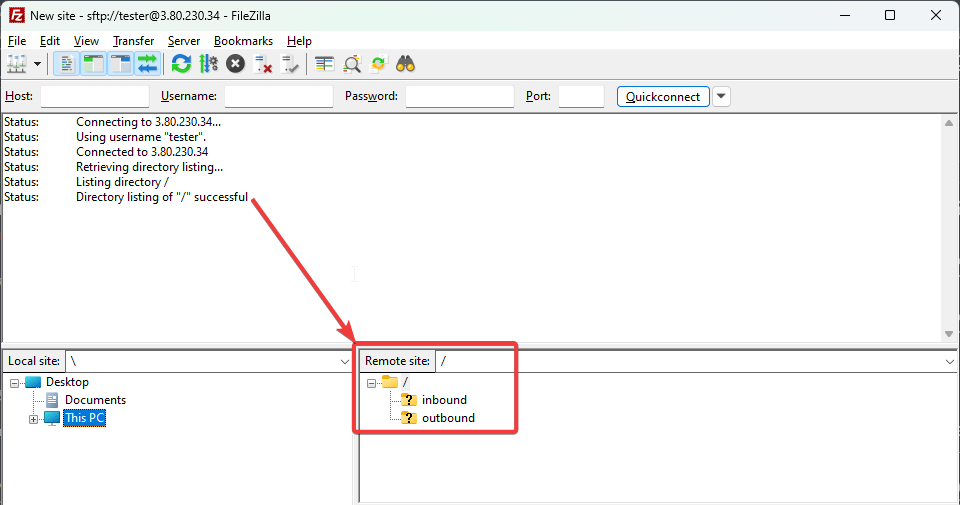
Now you can work with your own SFTP server.
