Manage and browse through directories containing numerous high-resolution images and videos effortlessly with our PhotoView Server on Debian 11.

Effortless installation. Ready-to-run with easy maintenance. Explore now for a smooth experience!
Connecting to PhotoView Server on Debian 11
To start the server, run the VM through Azure Portal.
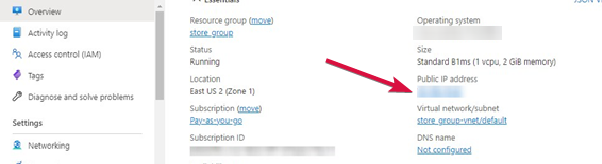
- For the connection to the server, you should know the IP address of the VM. You can find it in the personal account of Azure. You need to select the virtual machine from the list. By clicking the item “Overview”, your IP is displayed in the line “Public IP Address”.
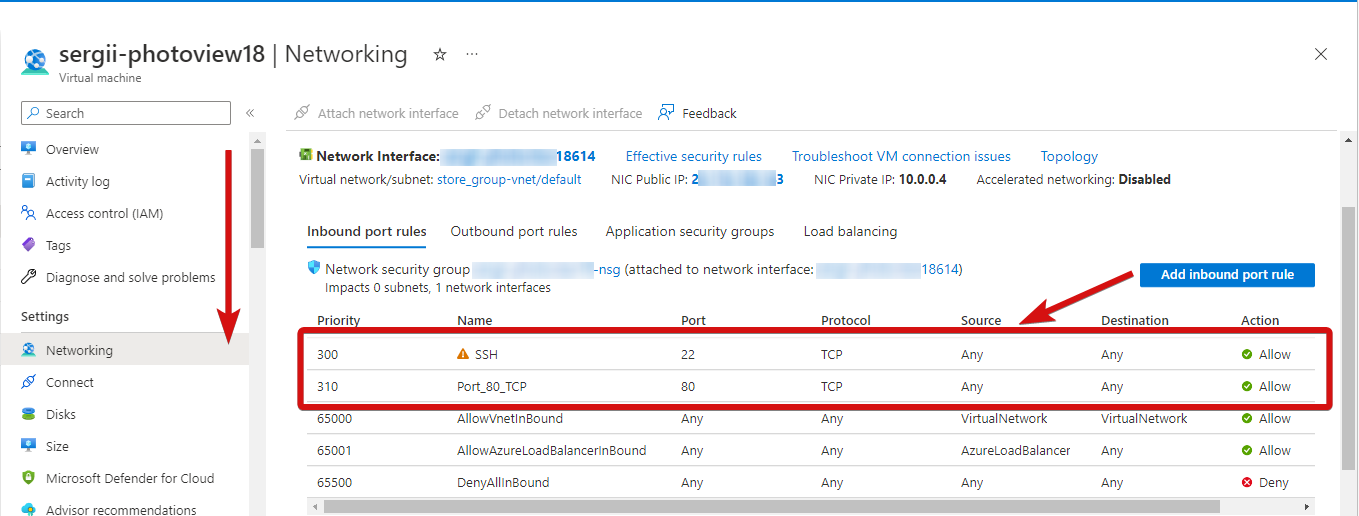
- To work, you must open TCP ports 22, 80 in the network properties in the Azure firewall.
- To manage with a PhotoView Server, you should connect to a VM.
- With OpenSSH
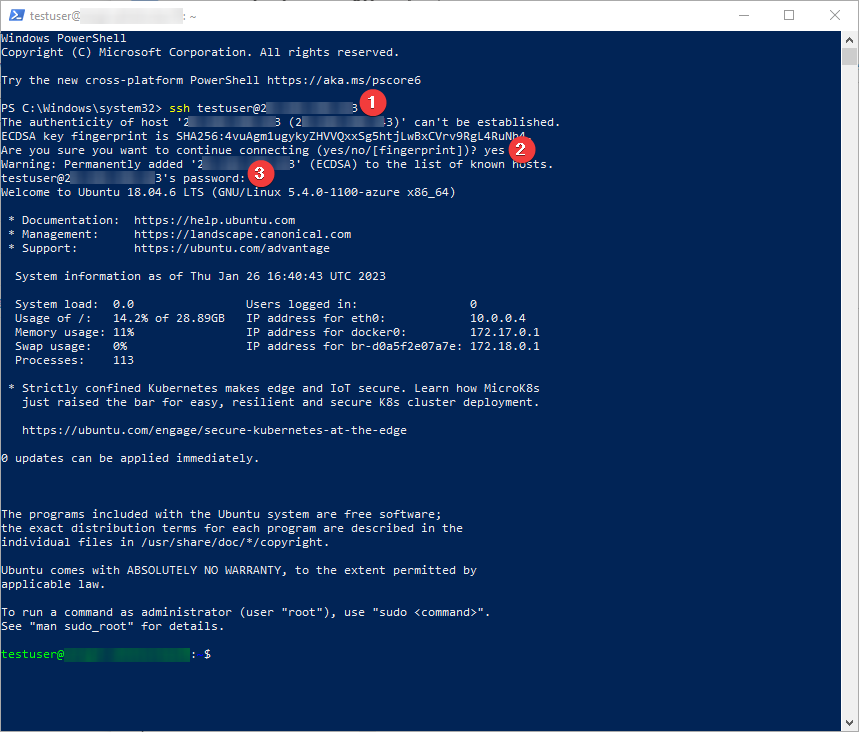
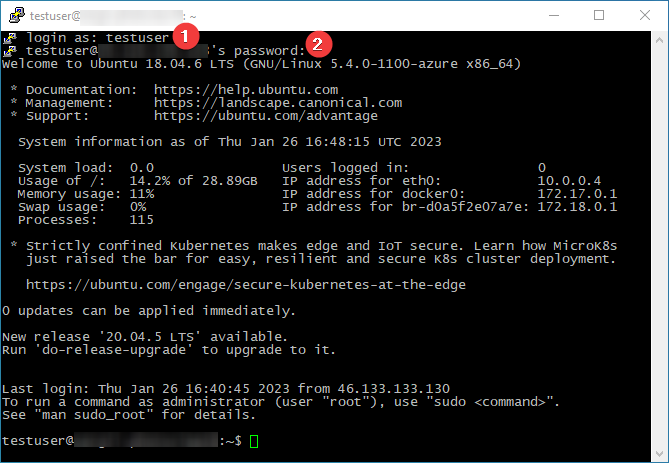
In the Windows 10 operating system (starting with version 1809), an OpenSSH client is available, with which you can connect to Linux servers via SSH. If Windows 10 is suitable and the OpenSSH client is installed, you can start connecting via SSH. To do this, launch a normal Windows command prompt and enter the command “ssh user@*vm_ip*” (1), where “user” is the username that was specified while creating the virtual machine and “*vm_ip*” is the VM IP address.
Then type “Yes” (2) and enter a password (3) that was specified while creating the virtual machine.
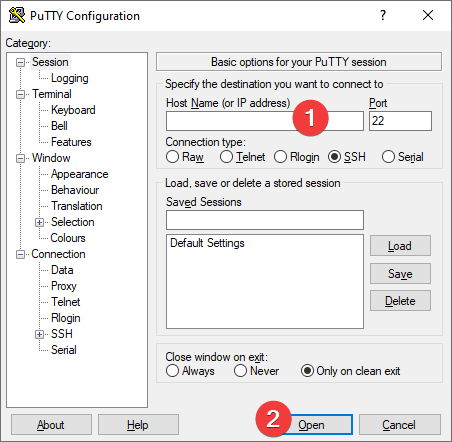
- With the PuTTy application
To do this, you need the PuTTy application to connect via ssh. You can download it at the following link – Download.
Run Putty, enter the VM address in the “Host” field (1), and click “Open” (2) to connect.
In the opened console, you will need to enter a username (1) and password (2) that were specified while the VM was being created (you’ll not see the password in the console while entering it).
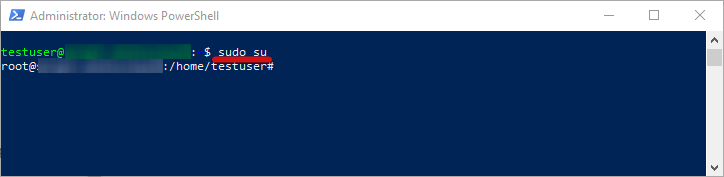
- To obtain root administrator rights on the server, enter the command: sudo su
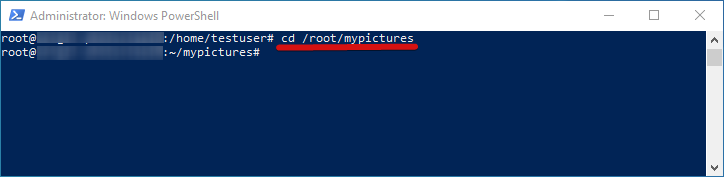
- To enter the mypictures folder for storing files on the server, enter the command:
cd /root/mypictures
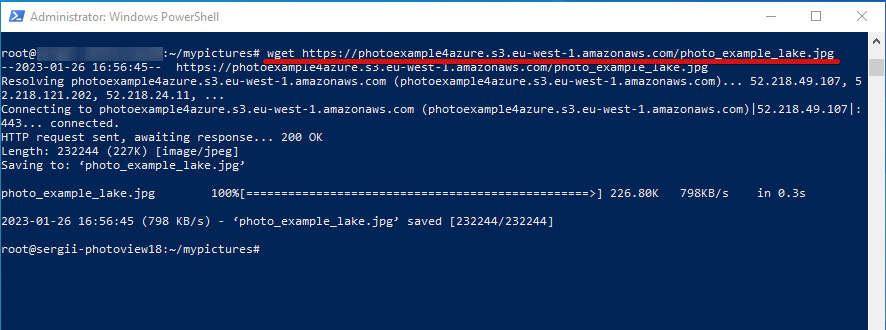
- Let’s, for example, upload two image files to the mypictures folder. To do this, enter the command containing a link to the image:
wget https://photoexample4azure.s3.eu-west-1.amazonaws.com/photo_example_dog.jpg
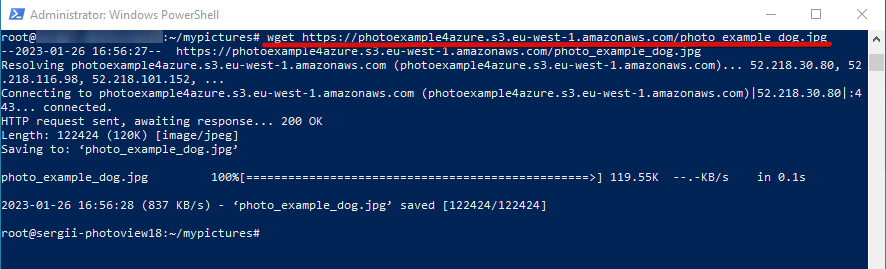
wget https://photoexample4azure.s3.eu-west-1.amazonaws.com/photo_example_lake.jpg
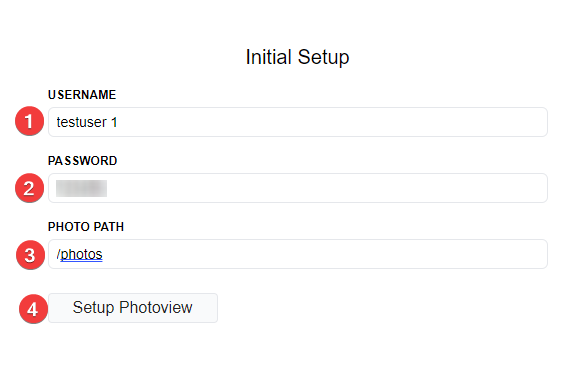
- To access the portal in a browser, follow the link http://*vm_ip*. The login page will open. To create the first user with administrator rights, enter the username (1), password (2), path to the /photos virtual folder (3), and click Setup Photoview (4).
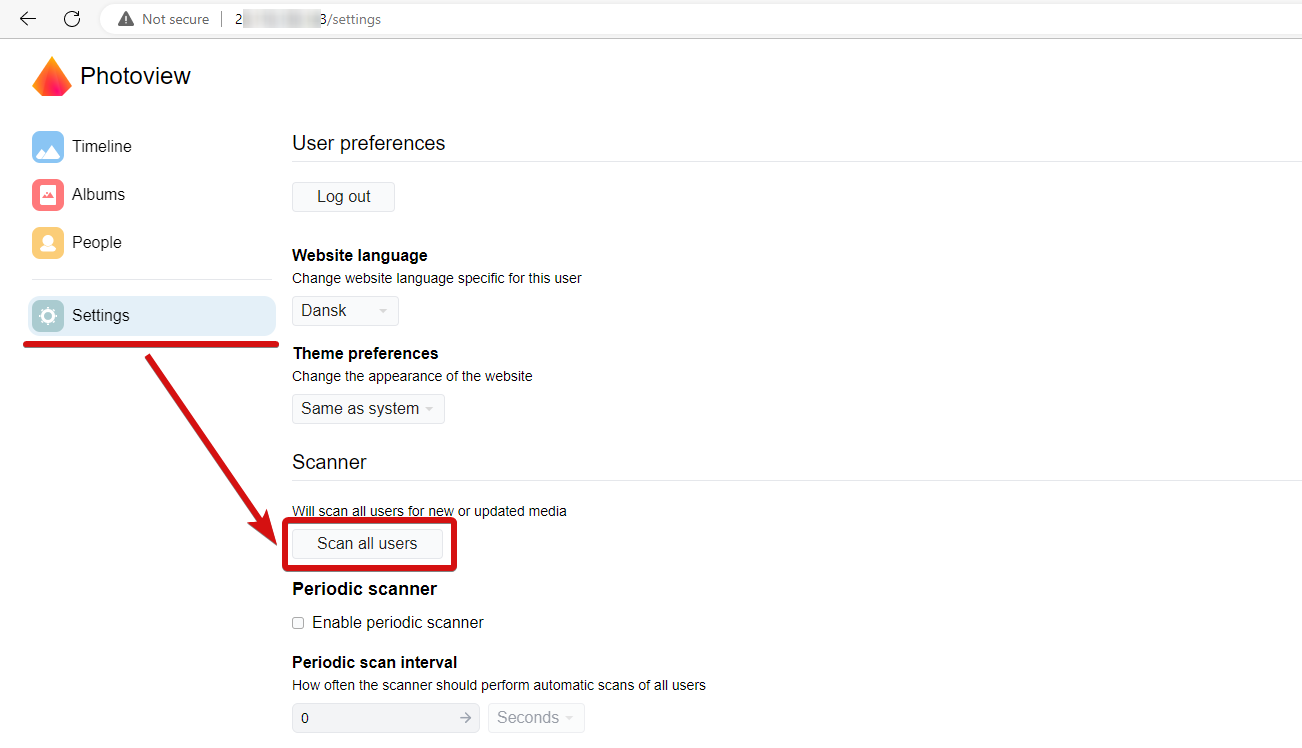
- For images uploaded via SSH to be displayed in the gallery, you need to go to Settings on the portal and click the Scan all users button.
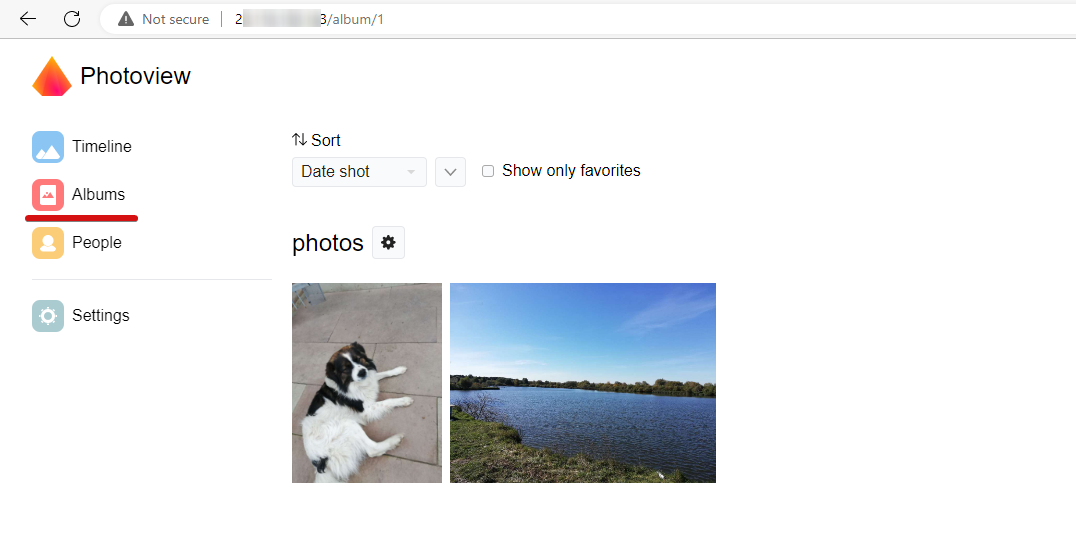
- Next, go to the Albums section and click on the photos folder.
Also, you can upload your photos to /root/mypictures in other ways more familiar to you.
iOS client for PhotoView
- In the App Store, you can download and install the PhotoView iOS client on your device
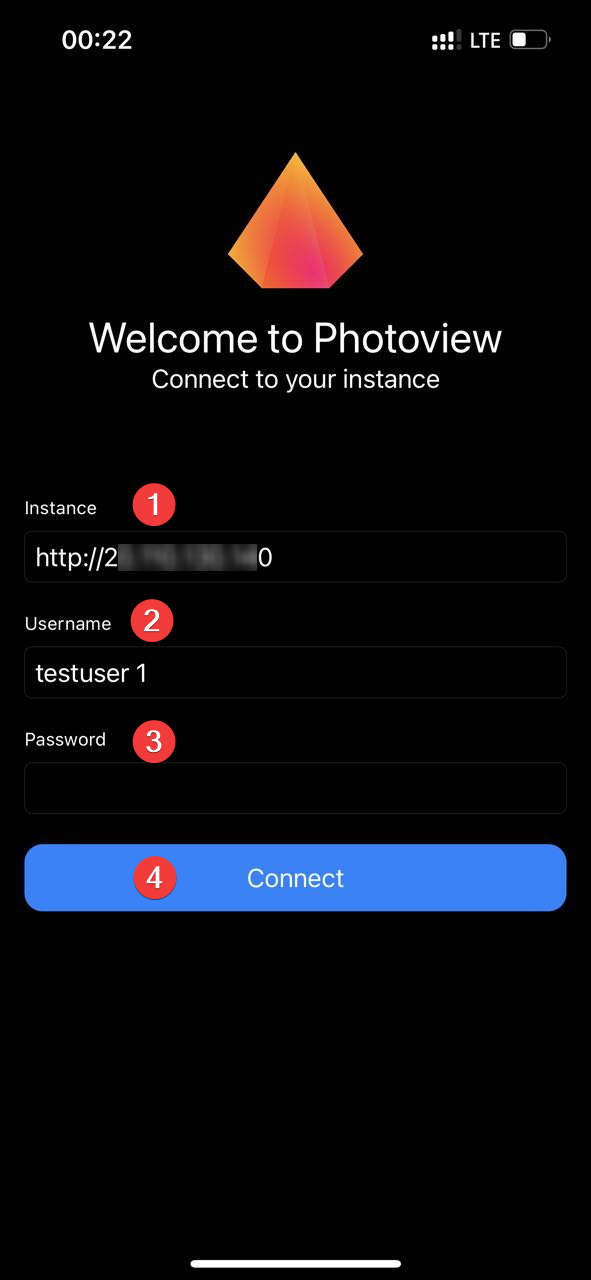
- After launching the PhotoView client on your device, enter the link http://*vm_ip* (1), enter the username (2), password (3) and click Connect button (4). Use the username and password from paragraph 7 of this instruction.
- Next, go to the Albums section and click on the photos folder.
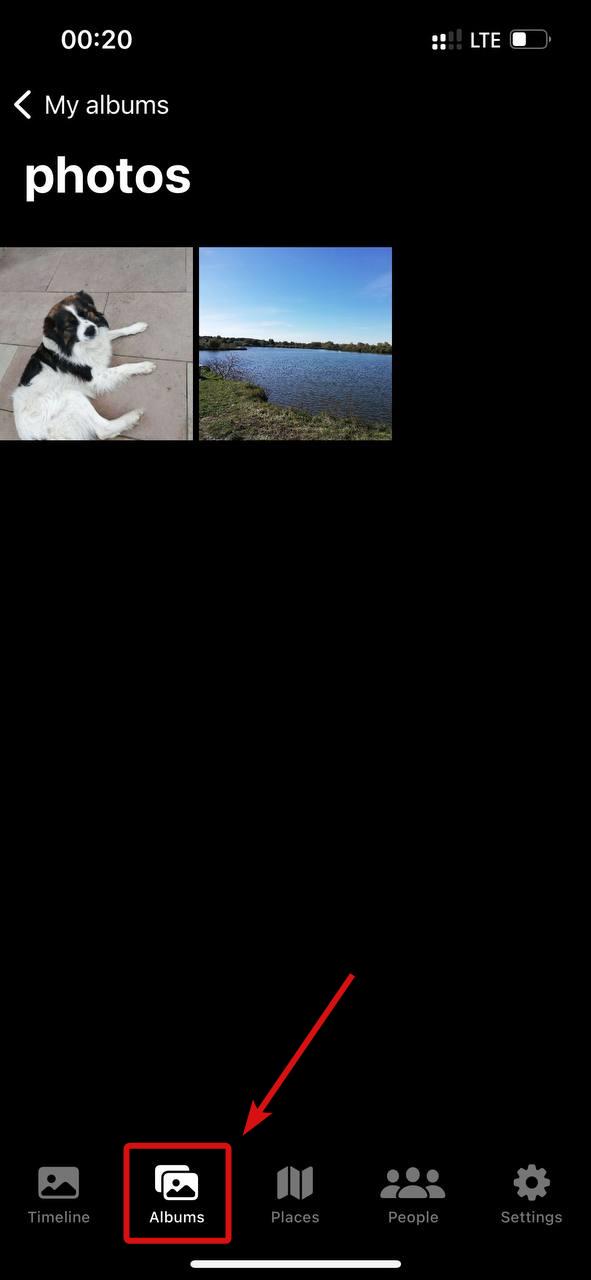
You can now use and manage the PhotoView portal from your mobile device.
To get more information, use PhotoView user manual introduction
Official source – PhotoView
View the license on photoview/LICENSE.txt at master
