The general-purpose, document-based, distributed database built for modern application developers and for the cloud era

Effortless installation. Ready-to-run with easy maintenance. Explore now for a smooth experience!
Connecting to MongoDB on Ubuntu 24.04 Minimal using Studio 3T through the SSH tunnel
- To work, you should open ports 27017, 27018, 27019, 27020 TCP in the network properties in the Azure firewall.


- Go to the download page of Studio 3T
- Choose which OS you want to download the application for

- If the portable version was downloaded, unpack the archive “studio-3t-x64.zip” (if Windows was selected) and run the file studio-3t-x64.exe
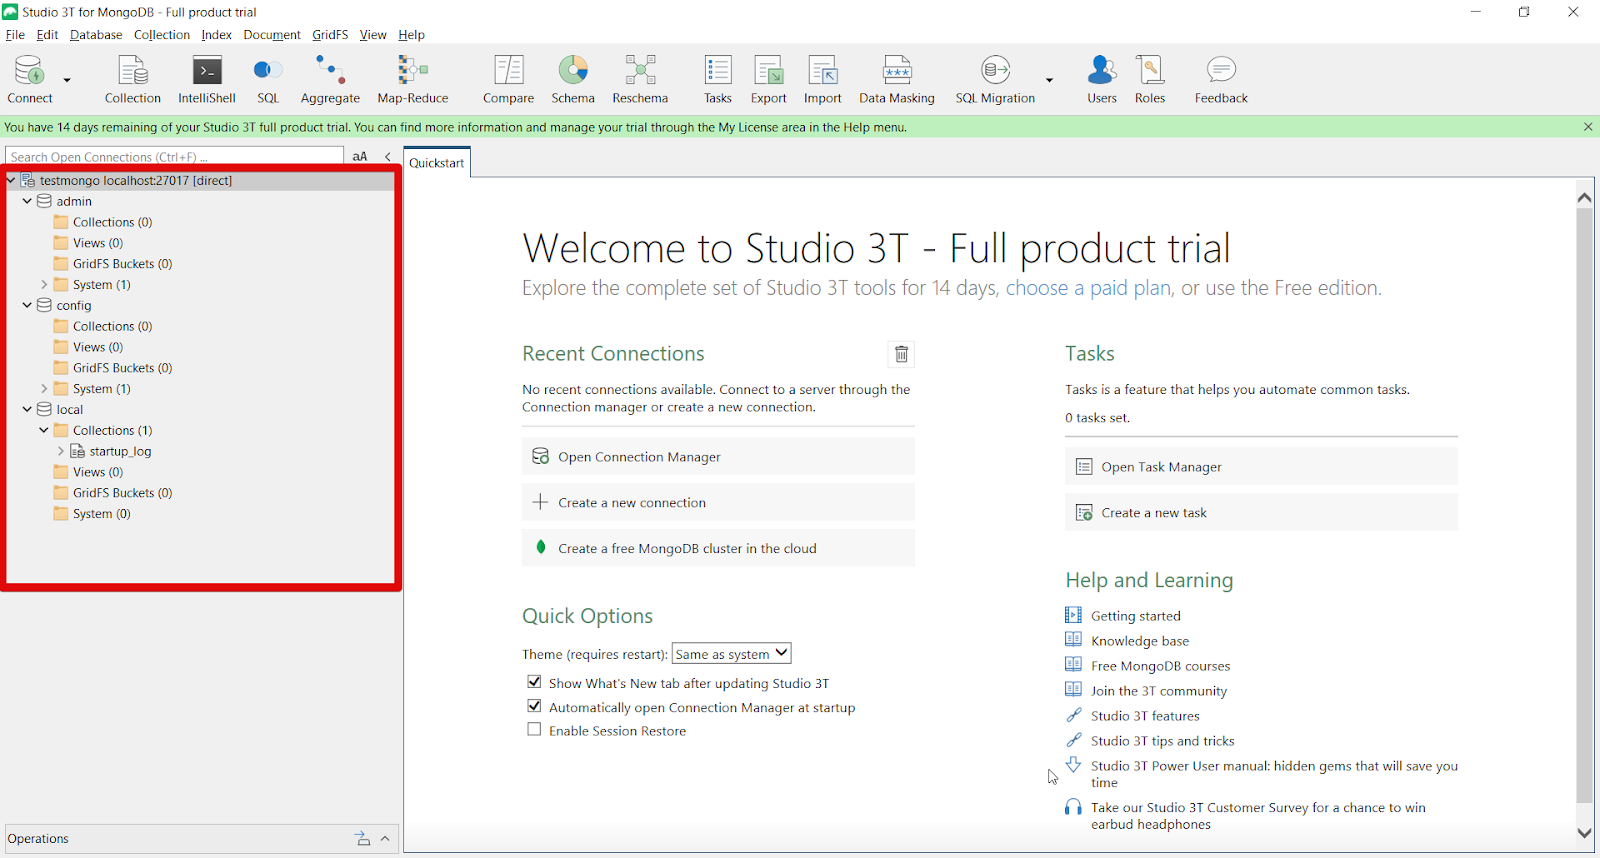
- When you start the app, the window with the creation of the connection opens. If this did not happen, click “File” > “Connect…” in the upper right corner.
- In the “Connection Manager” window click on “New Connection”

- Select “Manually configure my connection settings” and click “Next”

- In the “Server” tab in the “Connection name” field (1) name the connection in any convenient way. The other fields (“Server” (2) and “Port” (3)) leave with no changes.

- In the “SSH” tab:
- select “Use SSH tunnel to connect” (1),
- in the “SSH Address” field (2) enter the address of the virtual machine,
- enter Port 22 (3),
- in the “SSH User Name” field (4) type the username to connect to the VM,
- in the “SSH Auth Mode” field select the “Password” (5),
- in the “SSH Password” field (6) write the password which was used to connect to the virtual machine before.
- click “Test connection” (7) to check if all settings are correct.

- The following window should appear
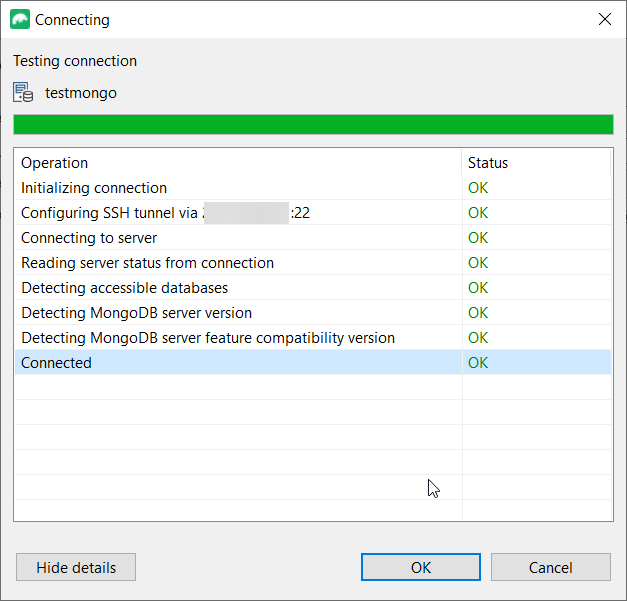
- Close this window and click “Save” to save the connection

- In the “Connection manager” window select the connection you just created and click the “Connect” button.

- Now you can work with your own MongoDB on Linux Ubuntu 18.04 Minimal