With its powerful organization, editing, and sharing capabilities, LibrePhotos Server on Ubuntu 20.04 Minimal offers a viable alternative to popular cloud-based photo storage and sharing services.

Effortless installation. Ready-to-run with easy maintenance. Explore now for a smooth experience!
Configuration and connection to LibrePhotos Server on Ubuntu 20.04 Minimal
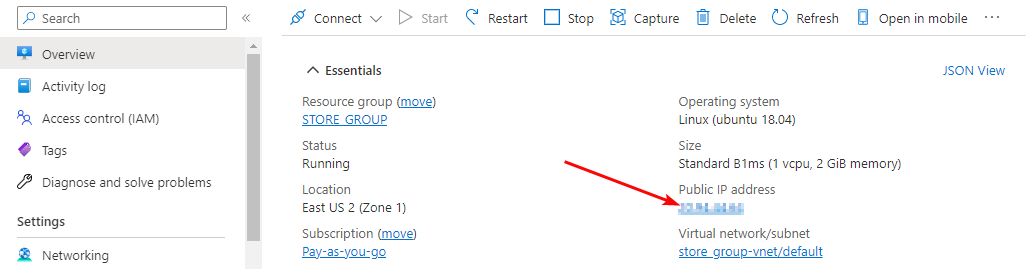
- Run the VM through Azure Portal. To customize the LibrePhotos, first, you need to know the server IP address. You can find it in the personal account of Azure. You need to select the virtual machine from the list. By clicking the item “Overview”, your IP is displayed in the line of “Public IP Address”.
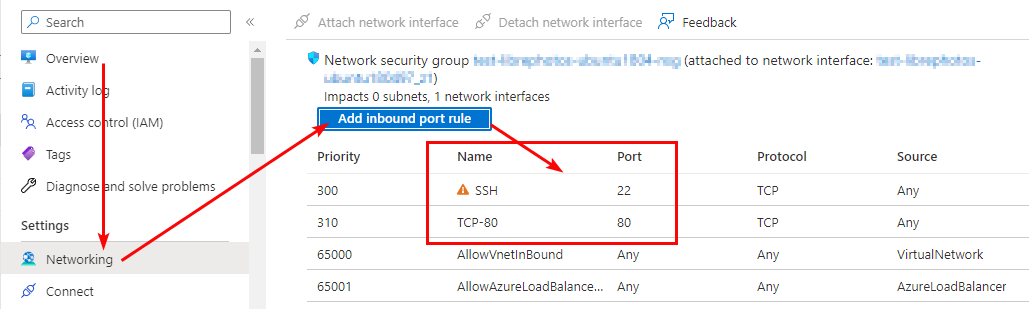
- To work, you should open TCP ports 22, 80 in the network properties in the Azure firewall.
- To work with librephotos, you can connect to the server via SSH.
- With OpenSSH
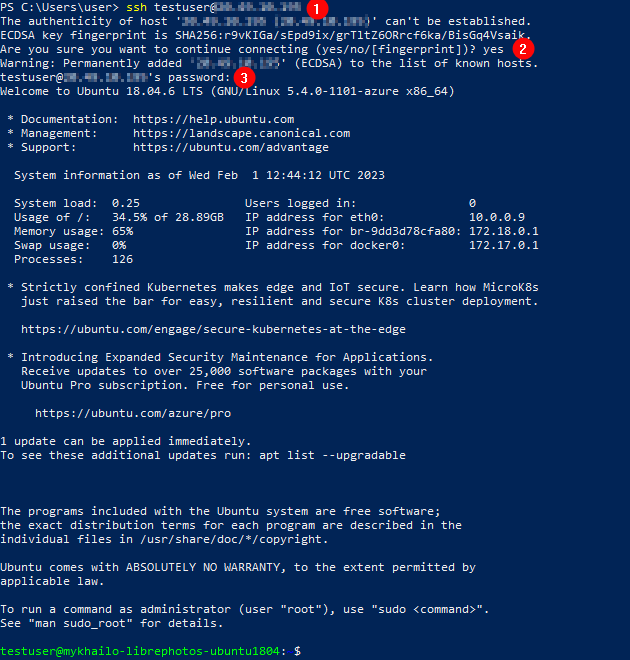
In the Windows 10 operating system (starting with version 1809), an OpenSSH client is available, with which you can connect to Linux servers via SSH. If Windows 10 is suitable and the OpenSSH client is installed, you can start connecting via SSH. To do this, launch a normal Windows command prompt and enter the command “ssh user@*vm_ip*”.
Where “user” is the username that was specified while creating the virtual machine and “*vm_ip*” is the VM IP address.
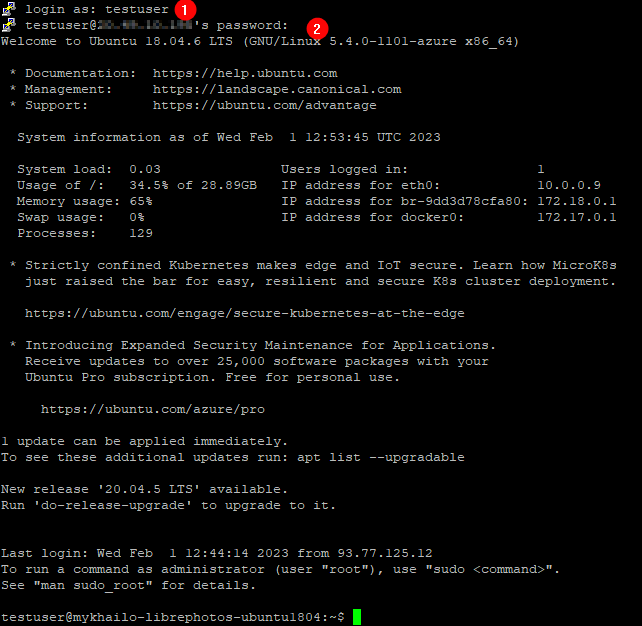
In the opened console, it is necessary to enter a password that was specified while creating the virtual machine.
- With the PuTTY application
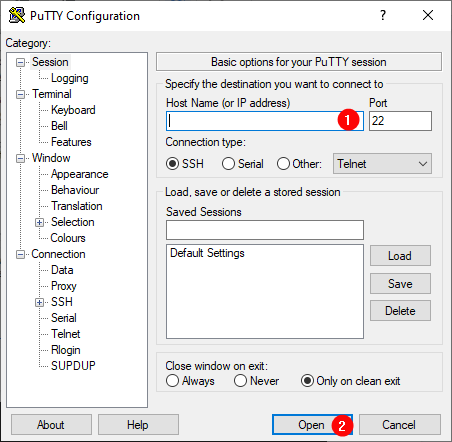
To do this, you need the PuTTY application to connect via SSH. You can download it at the following link – Download
Run PuTTY, enter the VM address in the “Host” field, and click “Open” to connect.
In the opened console, you will need to enter a username (1) and password (2) that were specified while the VM was being created (you’ll not see the password in the console while entering it).
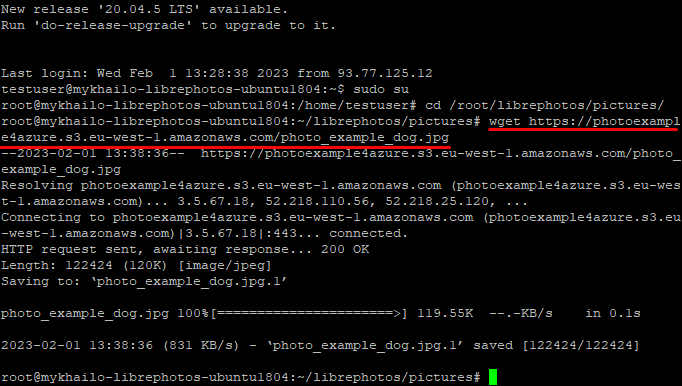
- To make preparations for uploading pictures, you need to execute the commands:
sudo su
cd /root/librephotos/pictures/

- To download images, for the LibrePhotos portal, you can use the commands, e.g. –
wget https://photoexample4azure.s3.eu-west-1.amazonaws.com/photo_example_dog.jpg
wget https://photoexample4azure.s3.eu-west-1.amazonaws.com/photo_example_lake.jpg
Also, you can upload your photos to /root/librephotos/pictures/ in other ways more familiar to you.
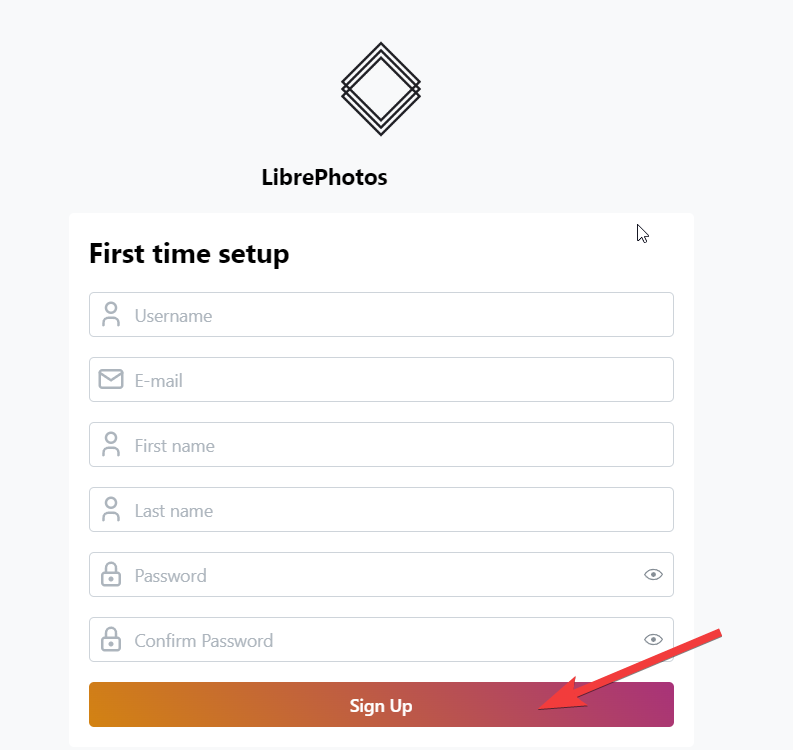
- To access the portal in a browser, follow the link http://*vm_ip*. The login page will open. To create the first user with administrator rights, enter credentials and click Sign Up.
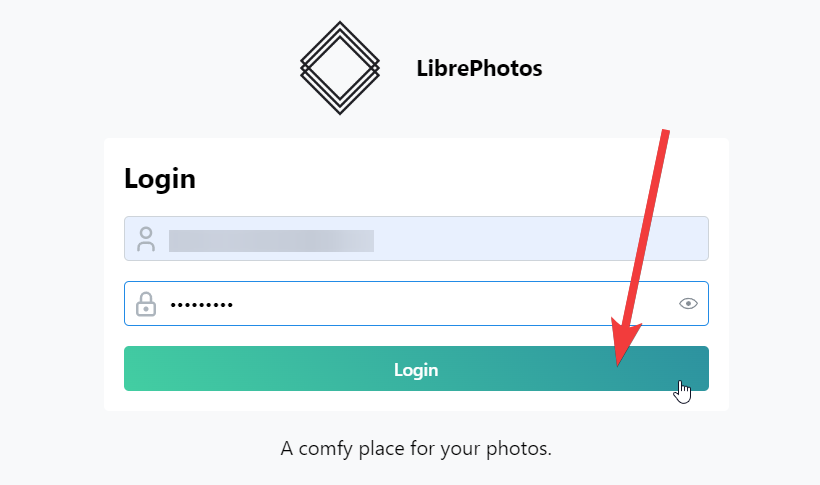
- You can then use the generated credentials to log in to the LibrePhotos portal.
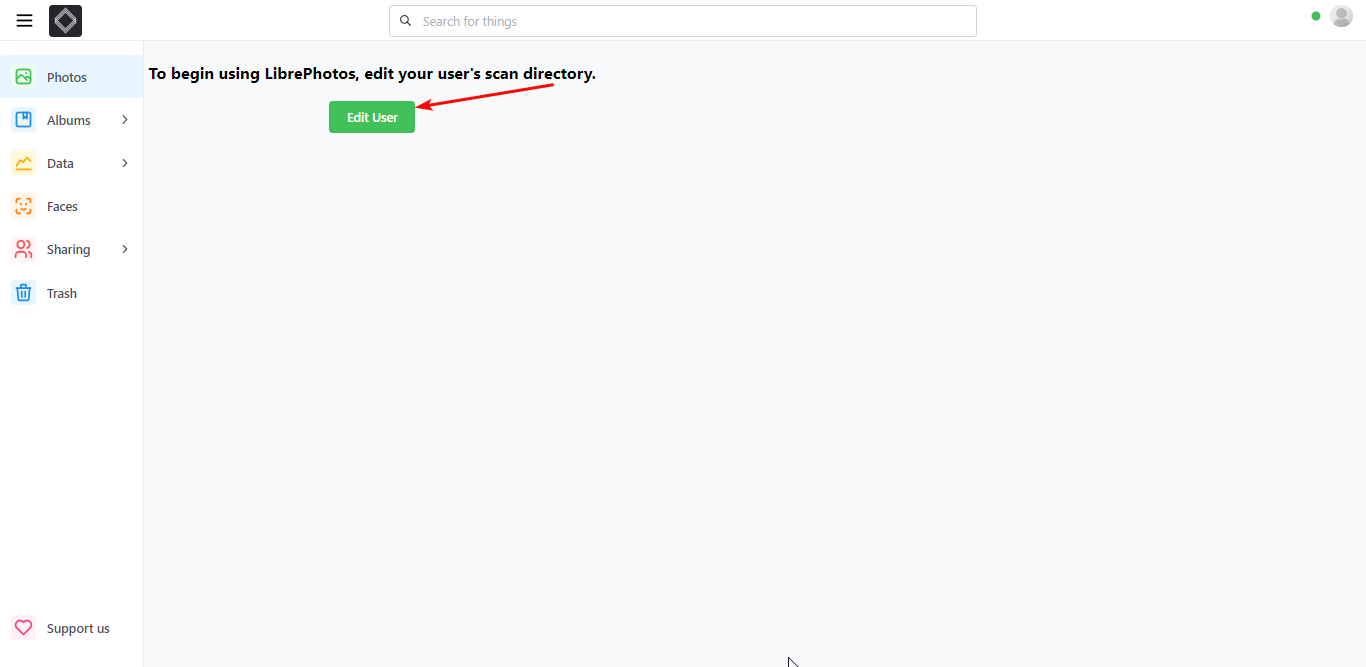
- On the portal, to configure the user folder, click Edit User.
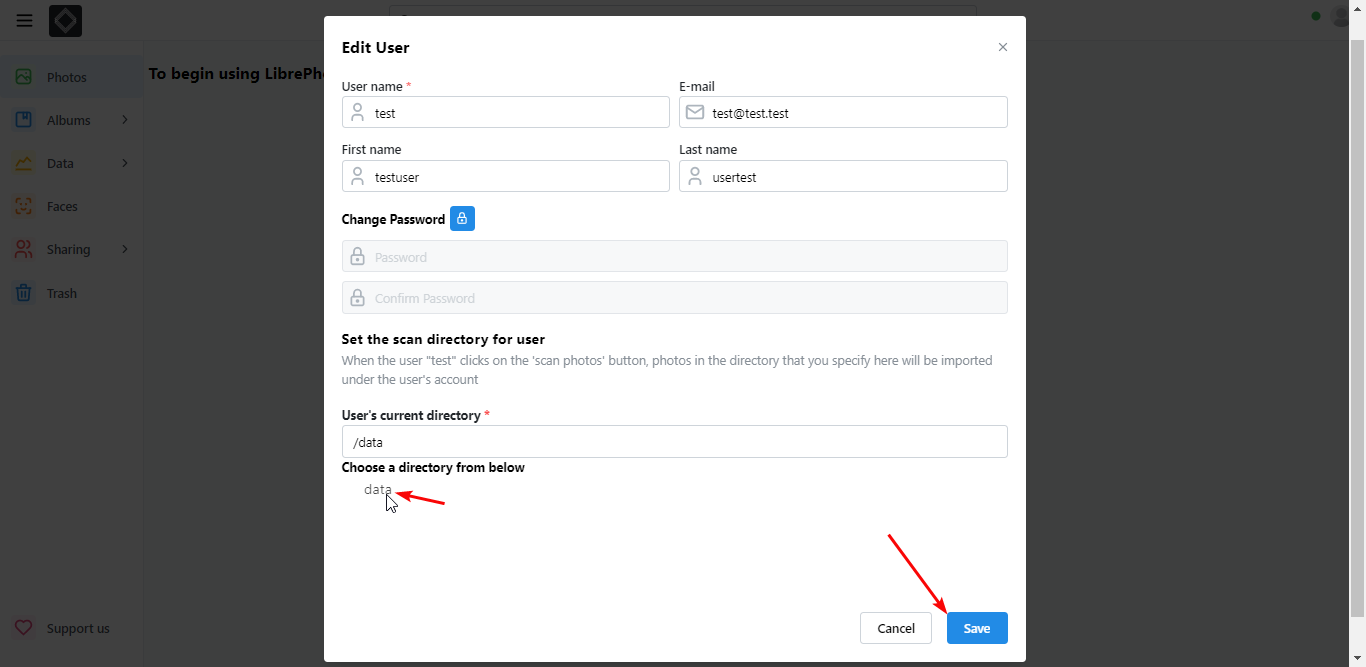
- The user needs to install the data folder and save the settings.
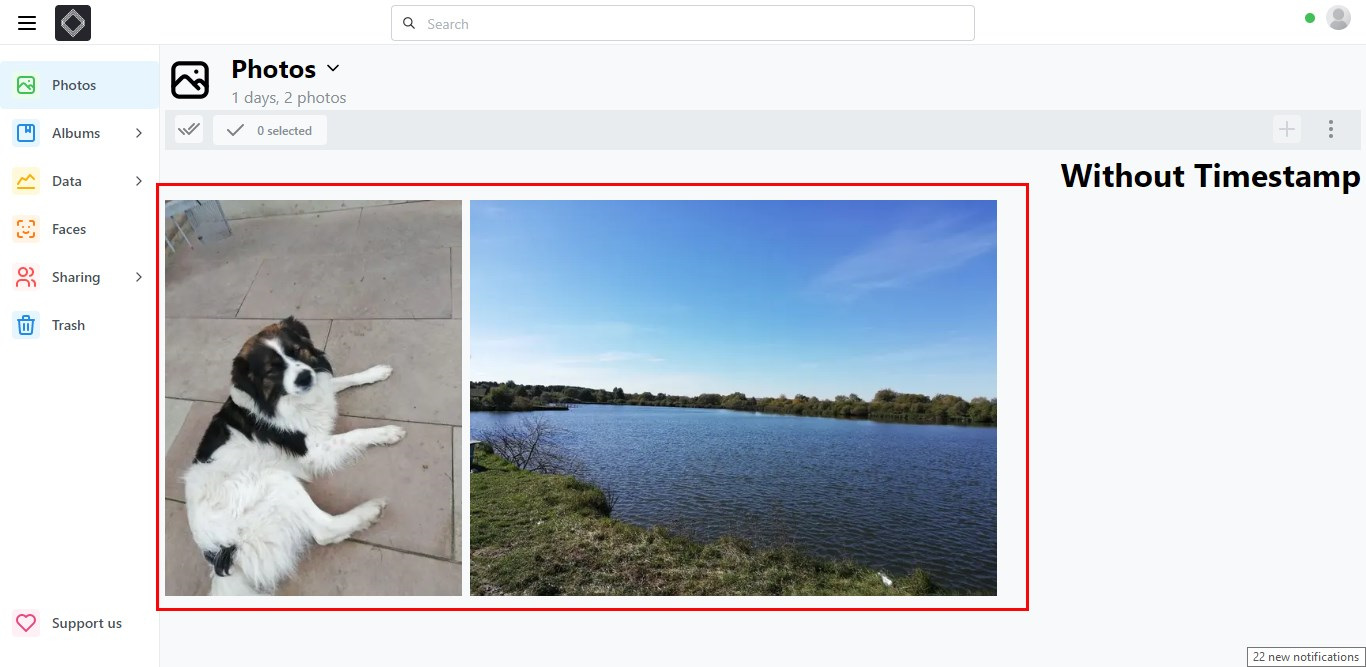
- After a while, refresh the page or click on Photos.
Android client for Librephotos
- Download and install the LibrePhotos Android client on your device.
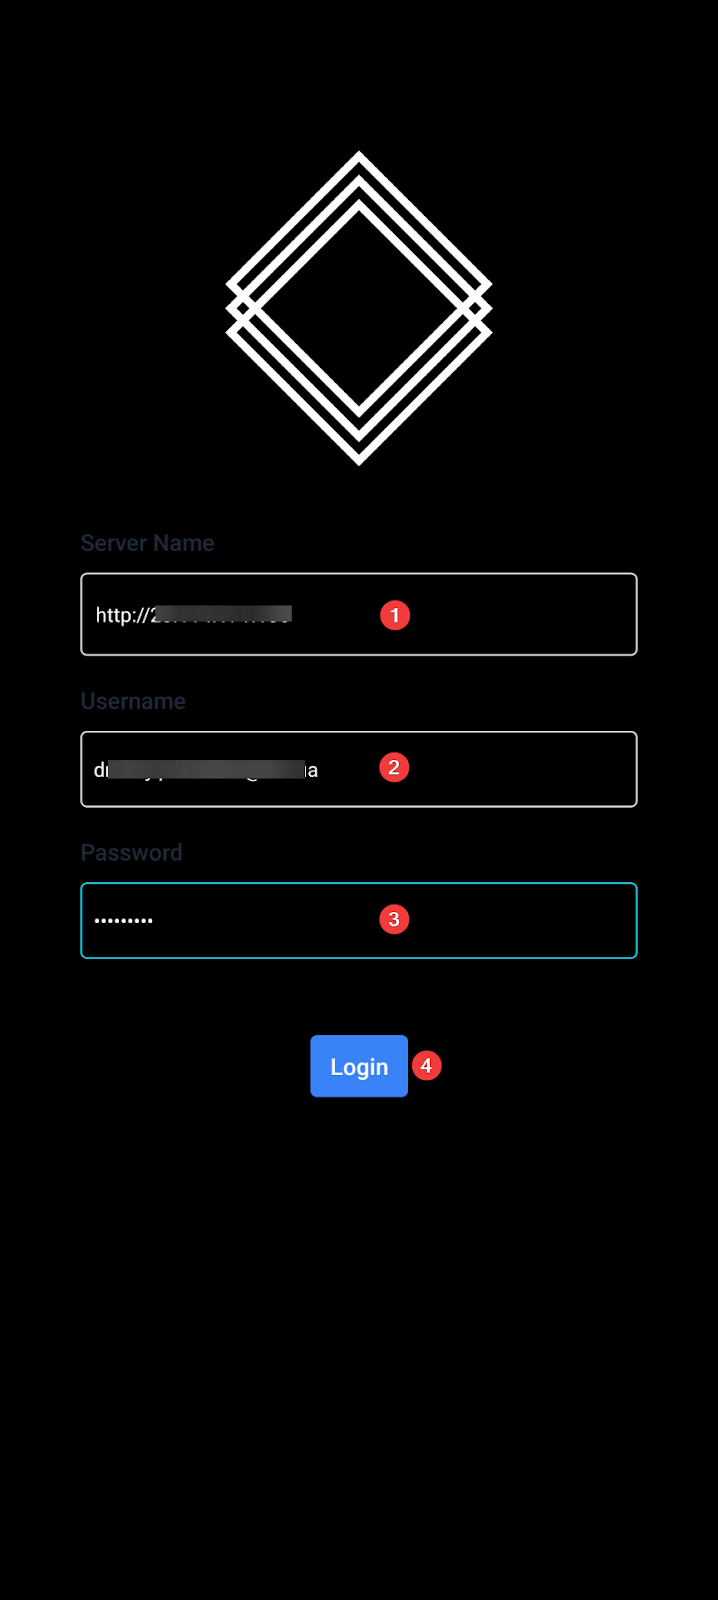
- After launching the LibrePhotos client on your device, enter the link http://*vm_ip* (1), enter the username (2), and password (3) and click the Login button (4). Use the credentials from paragraph 8 of the previous chapter.
- Click on the Photos folder.

You can now use and manage the LibrePhotos portal from your mobile device.
You can learn more about LibrePhotos in the official documentation
