Set up helpful containers effortlessly using our Docker Advanced Server on Ubuntu 24.04 LTS

Effortless installation. Ready-to-run with easy maintenance. Explore now for a smooth experience!
Configuring and connecting to Docker Advanced on Ubuntu Server 24.04 LTS
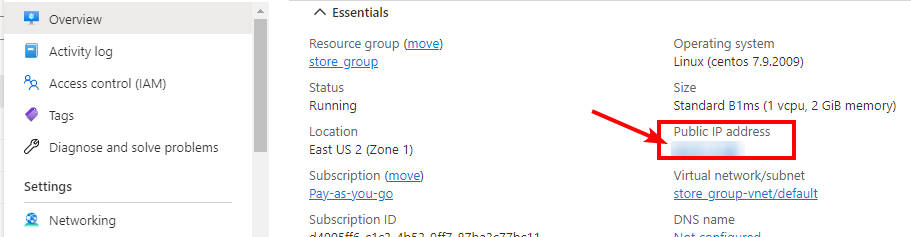
- After purchasing and starting the VM you should know its IP address. You can find it in the personal account of Azure. (You need to select the virtual machine from the list. By clicking the item “Overview”, your IP is displayed in the line “Public IP Address”).
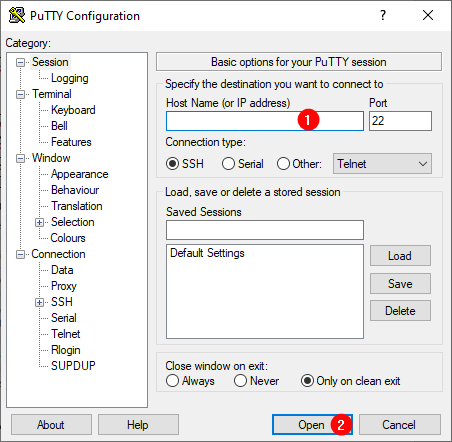
- To connect to a VM, you need the PuTTY application to connect via ssh. You can download it at the following link – Download
- Run PuTTY, enter the VM address in the “Host” field and click “Open” to connect.
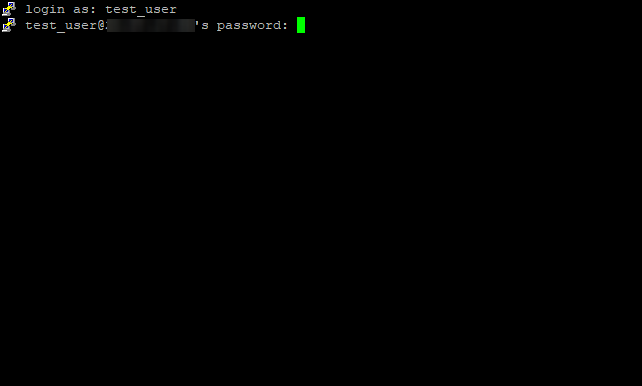
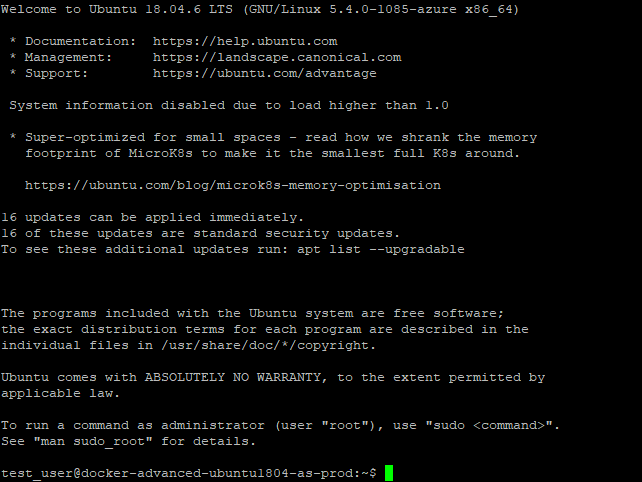
- In the opened console you should enter a username and password that were specified when creating the virtual machine. The next window is displayed
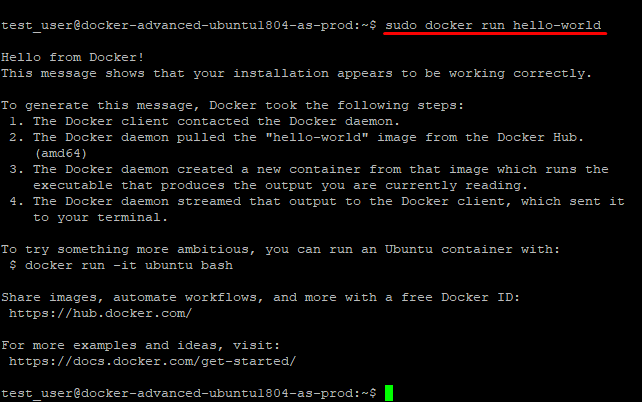
- To check that Docker is up and running, enter the command
> sudo docker run hello-world
- If you receive a message “Cannot connect to the Docker daemon”, it means that you will need to start the Docker service. Run the following command:
sudo systemctl start docker
or
sudo service docker start
- Then rerun the command to verify Docker is running
sudo docker run hello-world
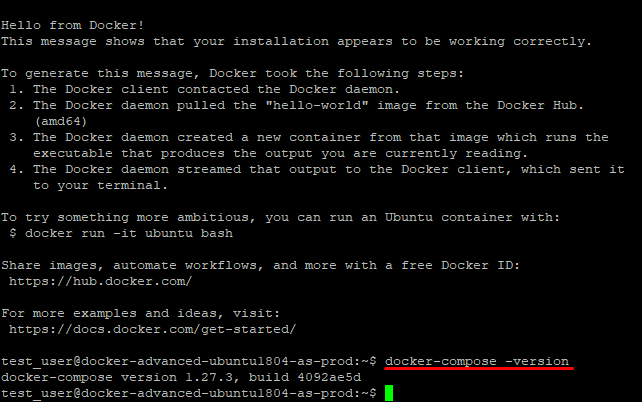
- Run the following command to confirm Docker Compose is installed:
docker-compose -version
Now you can use Docker Advanced adapted for Azure.
The advantage of this VM is the ability to work with docker-compose
ability to limit swap usage when starting containers.
Please refer to Dockers documentation – Get started with Docker Compose
