Start and enjoy your communication server with Calls VoiP on Linux Stream 10

Effortless installation. Ready-to-run with easy maintenance. Explore now for a smooth experience!
Connection and configuration of Calls VoiP on Linux Stream 10
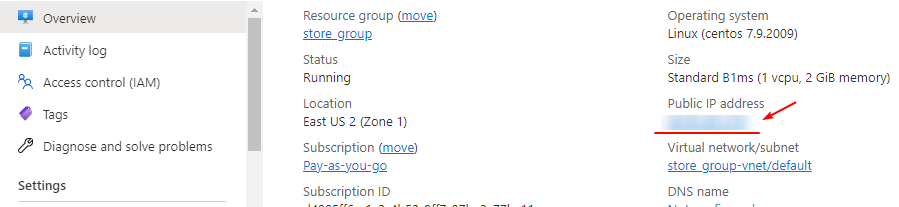
- To start the server, run the VM through Azure Portal. You need to know your IP address. In the virtual machine, select “Overview” and the “Public IP Address” field will have the IP.
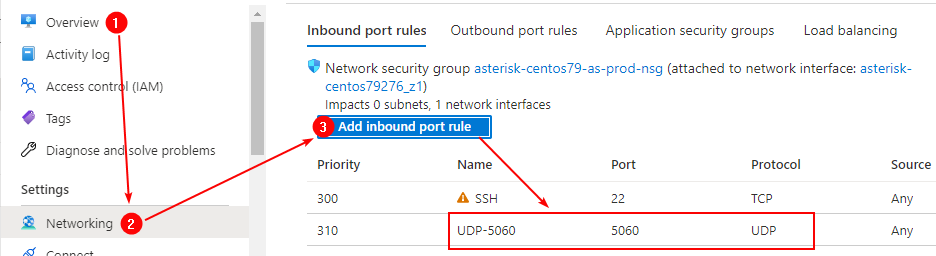
- To work, you must open port UDP 5060 in the network properties in the Azure firewall.
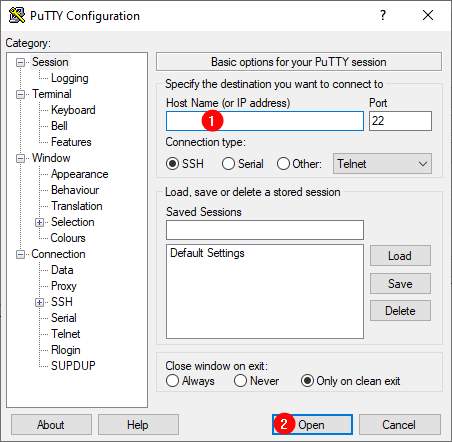
- Install PuTTY. You can download PuTTY from the link – https://putty.org.ru/download.html Launch PuTTY.
- In the “Host Name” field, enter the IP of the virtual machine and click “Open”.
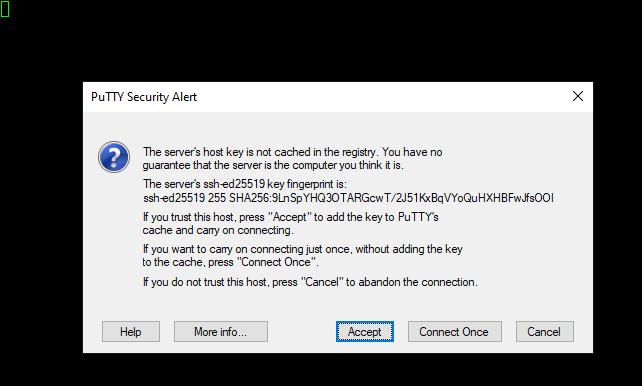
- In the window that appears, click Accept.
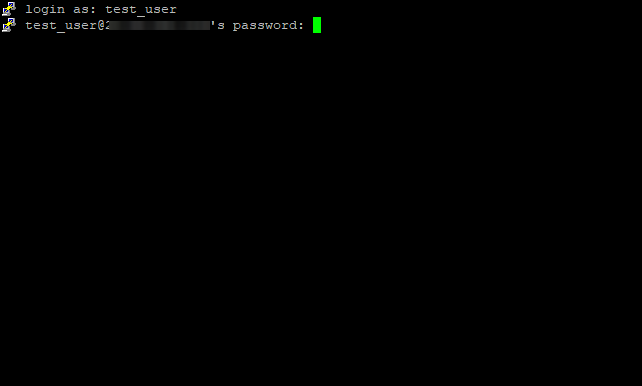
- Enter the username and password that were used to create the virtual machine.
(If you enter a password, it will not be displayed.)
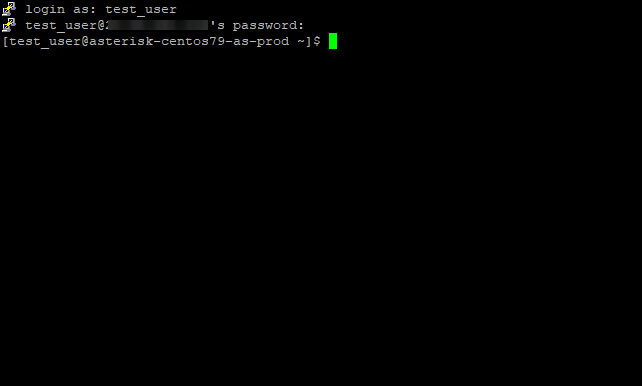
- The next window is displayed.
- To check that the service is running, enter the command:
sudo systemctl status asterisk
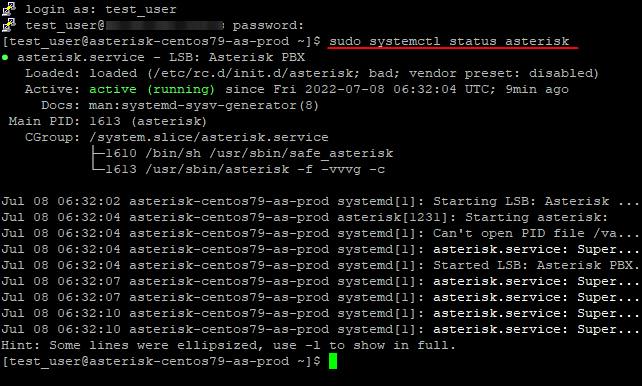
- Press “Q” to exit checking service status.
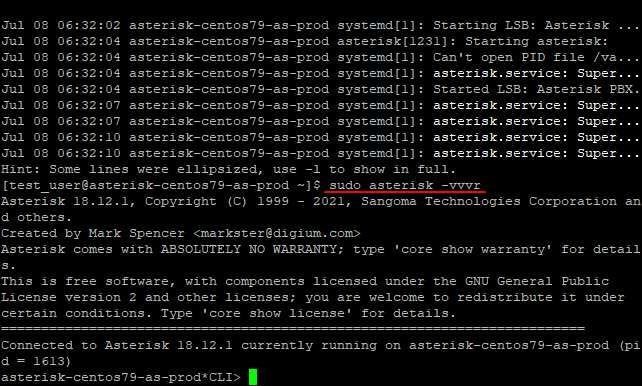
- To enter the asterisk service console, enter the command:
sudo asterisk -vvvr
- To view the “Settings” or “Help” in the console of the asterisk service, you can use the commands:
core show settings
core show help
This is a pre-configured Asterisk v.18
You can easily modify it to your needs.
To further configure the service, use the documentation
