
A GPU-accelerated virtual machine optimized for deep learning and AI workloads using PyTorch with NVIDIA CUDA support on AlmaLinux 10.

Effortless installation. Ready-to-run with easy maintenance. Explore now for a smooth experience!
Connection to AlmaLinux 10 VM for PyTorch Workloads with NVIDIA CUDA GPU Support
- Please note the following information before purchasing: The GRID drivers redistributed by Azure don’t work on most non-NV series VMs, such as NC, NCv2, NCv3, ND, and NDv2 – VMs’ series VMs, but do work on the NCasT4v3 series. Learn more – Azure N-series GPU driver setup for Linux – Azure Virtual Machines | Microsoft Learn
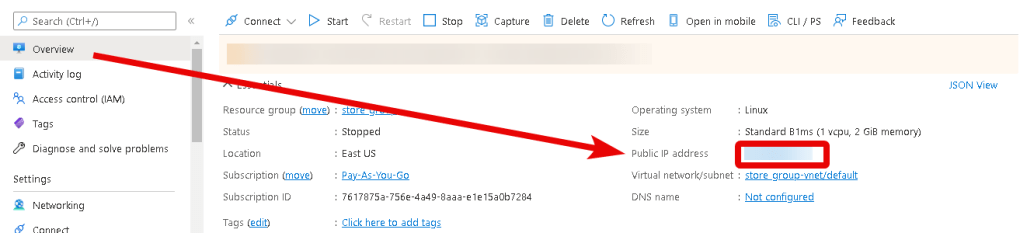
- After purchasing and starting the VM, you should know its IP address. You can find it in your Azure personal account. You need to select the virtual machine from the list. By clicking the item “Overview”, your IP is displayed in the “Public IP Address” line.
- To manage the server, you should connect to a VM.
- With OpenSSH
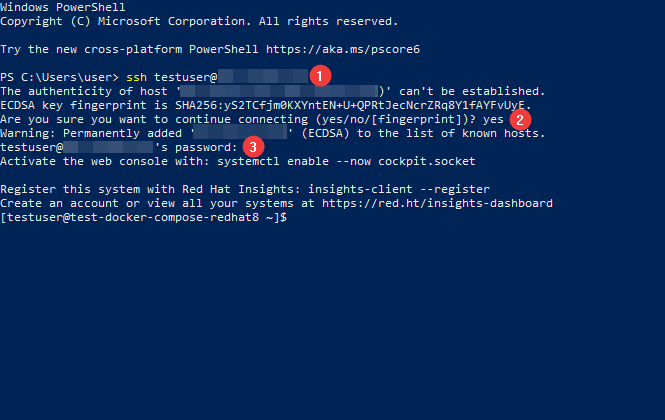
On Windows (version 1809 or later), an OpenSSH client is available, which you can use to connect to Linux servers via SSH. To do this, launch a normal Windows command prompt and enter the command “ssh user@*vm_ip*” (1), where “user” is the username that was specified while creating the virtual machine and “*vm_ip*” is the VM IP address.
Then type “Yes” (2) and enter a password (3) that was specified while creating the virtual machine.
- With the PuTTY application
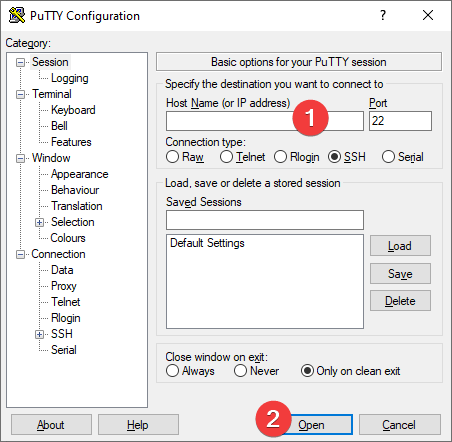
To do this, you need to connect via SSH using the PuTTY application. You can download it at the following link – Download.
Run PuTTY, enter the VM address in the “Host” field (1), and click “Open” (2) to connect.
In the window that appears, click Accept.
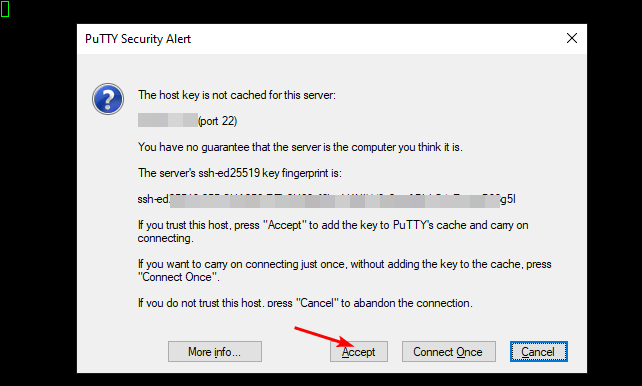
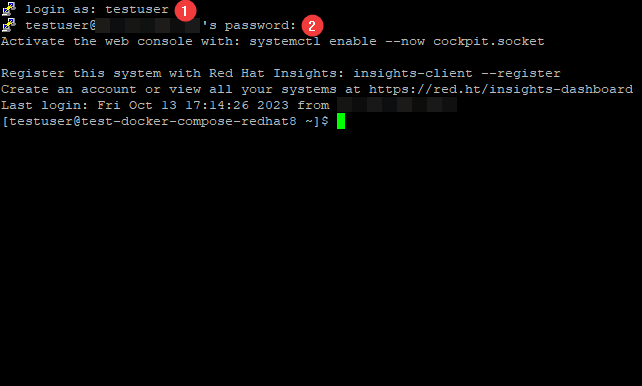
In the opened console, you will need to enter a username (1) and a password (2) that were specified while the VM was being created (you’ll not see the password in the console while entering it).
- The next mandatory step is to activate the virtual environment. Go to /home/pytorch_venv/mnist and activate the virtual environment:
$source /home/pytorch_venv/bin/activate

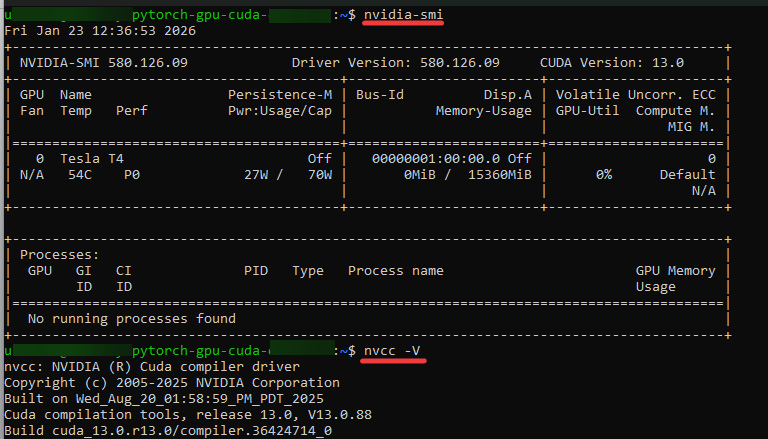
- You can view the parameters of your virtual machine using the commands:
$python3 -c “import torch; print(torch.__version__); print(torch.cuda.is_available())” – see PyTorch version and status

$nvidia-smi – see NVIDIA GPU driver
$nvcc -V – see CUDA toolkit
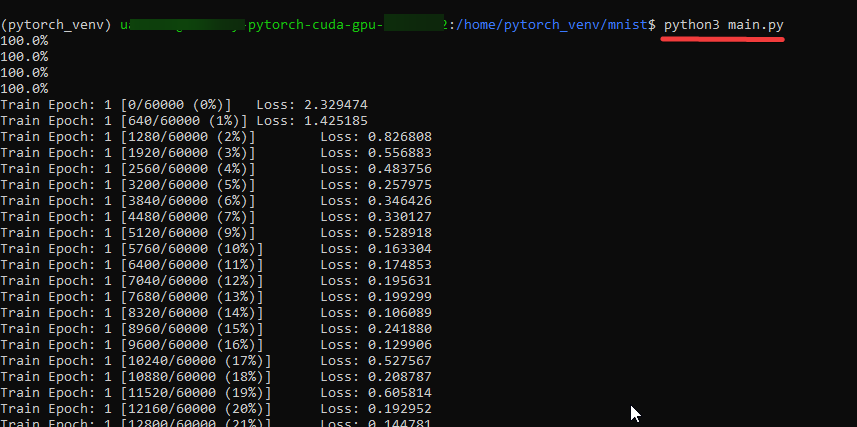
You can run the test project:
$python3 main.py
Now you can use our well-prepared AlmaLinux 10 VM for PyTorch Workloads with NVIDIA CUDA GPU Support.
