Active Directory Certificate Services on Windows Server 2016 Datacenter ensures efficient certificate management for enterprise environments. It’s ideal for secure communication and authentication.

Built for efficiency, optimized for your needs — get started instantly.
Configuring the Active Directory Certificate Services on Windows Server 2016 Datacenter
To connect to the Server, you should generate a “Private Key” in advance. This can be done using the Guidance on usage
- To connect to the virtual machine, click the Remote desktop file from step 10 of the Guidance on usage

- In the window that appears, enter the password from step 12 of the Guidance on usage and click “OK.”

- Check the box and click “Yes.”

- Once logged in, open “Server Manager.“

The first task is to decide if this will be an Enterprise CA or Standalone CA. If it will be an Enterprise CA, then you will need to add this VM to your Active Directory domain; otherwise, you can leave it as a member server and run it as a Standalone CA.
- Next, run the setup wizard from the notification alert in Server Manager.

- On the Credentials page, you can see the Administrator displayed in the Credentials box. Click “Next.”

- On the Role Services page, select the Certification Authority checkbox and click “Next.”

- On the Setup Type page, select “Enterprise CA” as the CA type to allow integration with your AD, or “Standalone CA” if you want to run this as a member server in a workgroup.

- On the CA Type page, select “Root CA” if this is the first CA in your environment or “Subordinate CA” if you already have an established PKI. Click “Next.”

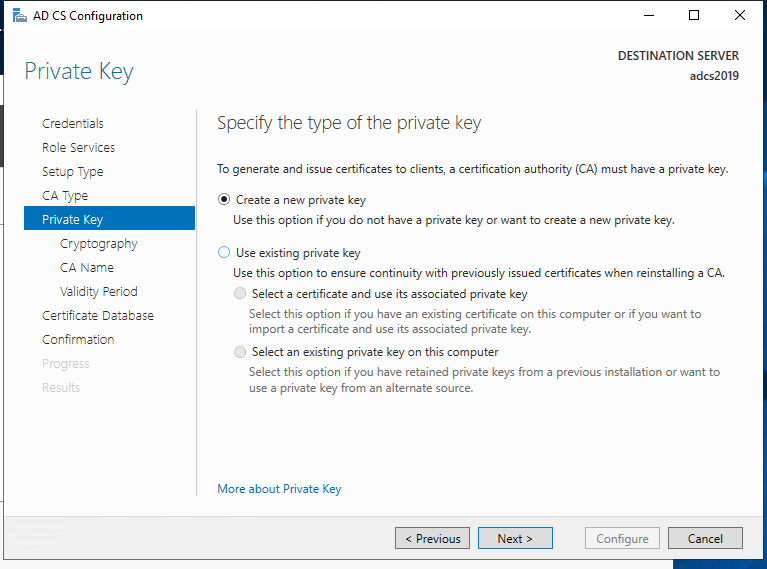
- On the Private Key page, choose between “Create a new private key” or “Use existing private key.” Click Next.
- On the Cryptography for CA page:
- Select the default cryptographic provider as RSA#Microsoft Software Key Storage Provider.
- Select a Key length of 2048 or above.
- Select SHA1 as the hash algorithm and click “Next.”

- On the CA Name page, specify the name of your CA in the “Common name for this CA” text box.

- On the Validity Period page, select the number of years for the certificate to be valid.

- On the CA Database page, specify the locations for the database and database log files. Click “Next.”

- On the Confirmation page, click Configure. The results screen will appear after the configuration is complete.


- After completing the setup, you can use the Certification Authority


Firewall Ports
If you have a network security group or firewall appliance in front of your new AD CS virtual machine, you’ll need to check that the following firewall ports are open.
Below is a list of ports that need to be opened on Active Directory Certificate Services servers to enable HTTP and DCOM-based enrollment

You can open ports in the Security group in AWS Firefall.

Deploy Certificates
Once you have your CA set up, you’re now ready to start deploying certificates. The following article has a great tutorial on this.
With your Active Directory Certificate Services successfully configured and running on Windows Server 2016 Datacenter, you are now equipped to manage and deploy certificates across your network. This setup enhances your security infrastructure by providing trusted certificate-based authentication and encryption solutions for users, devices, and applications.
Your Active Directory Certificate Services are now ready to meet the needs of your organization’s security and identity management.
